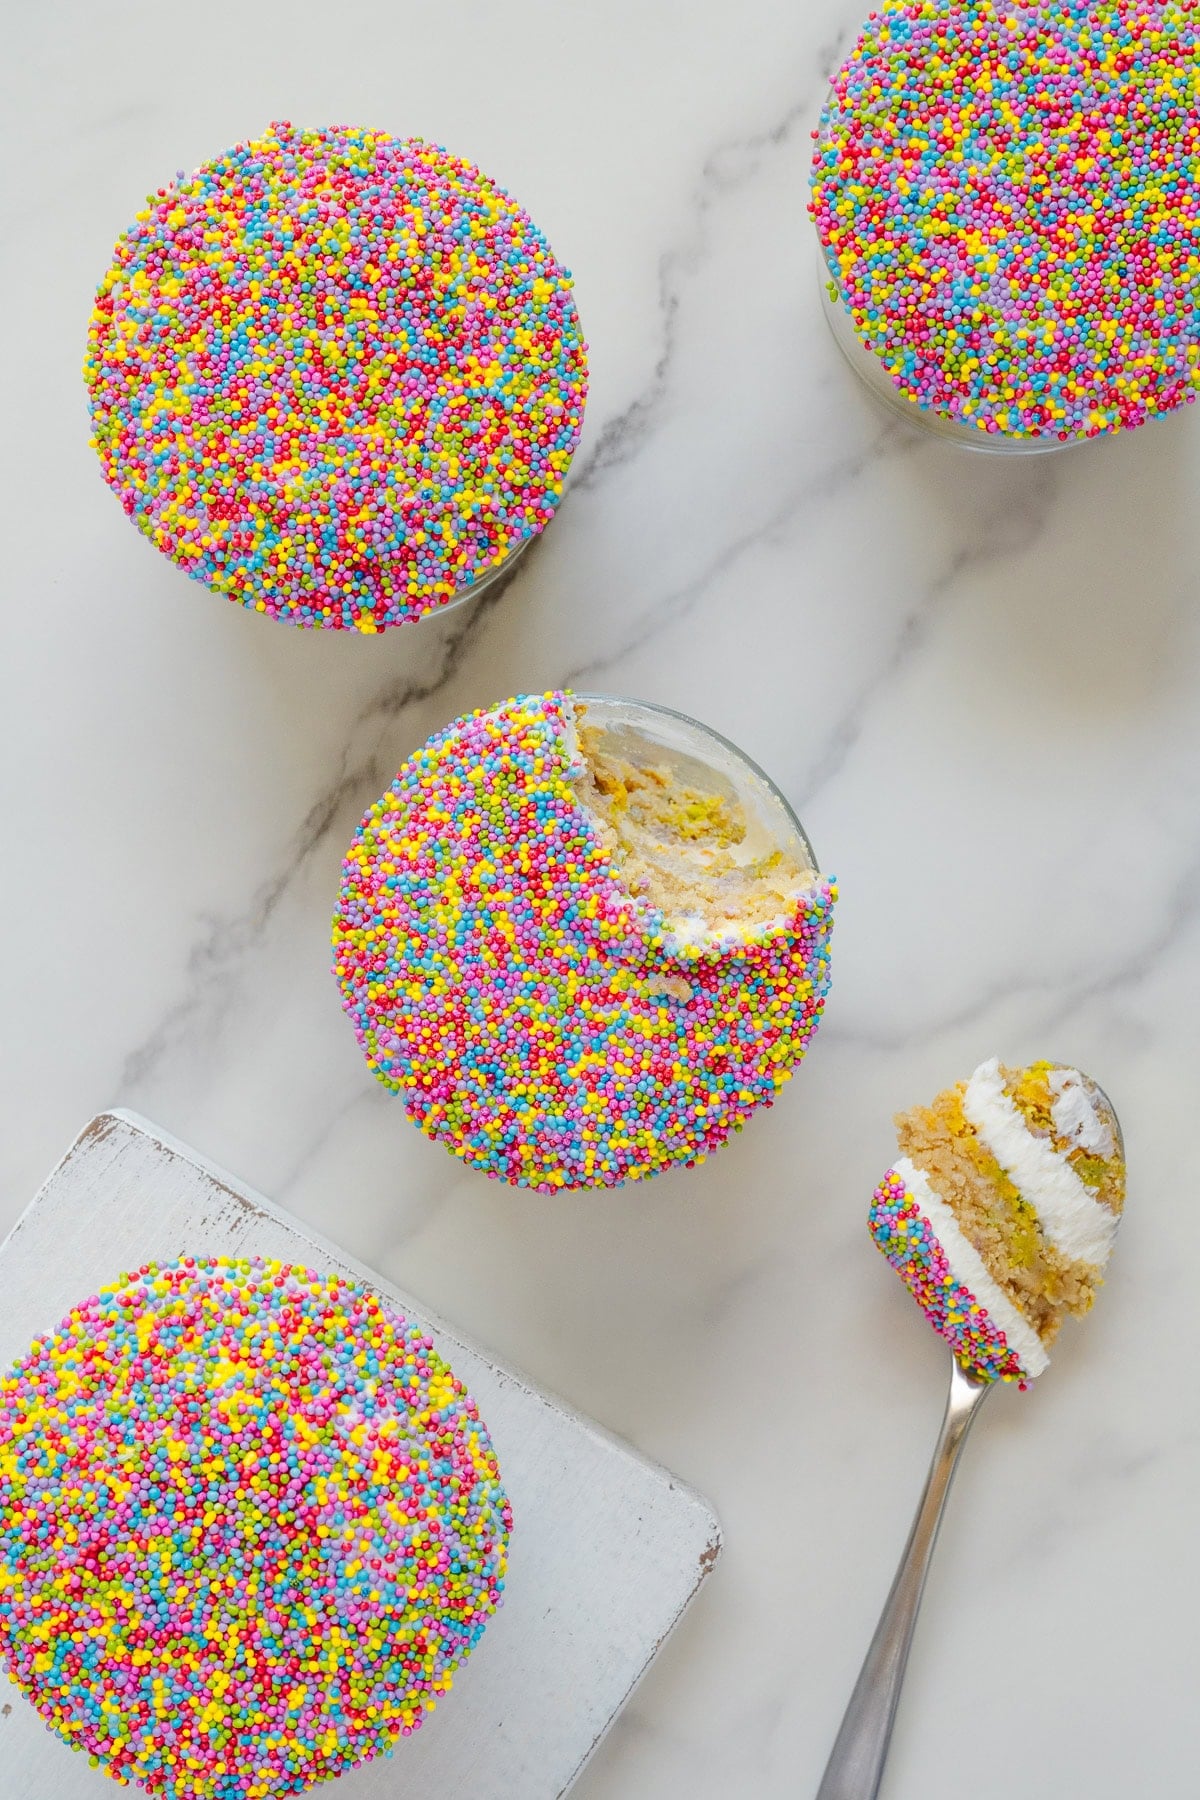
These viral dot cakes immediately caught my attention on social media. They're adorable, fun to make, and perfect for parties. But all I could think about was the leftover cake scraps. After cutting circles from a sheet cake, you're left with so much perfectly good cake. So I created a no-waste version that turns every last crumb into more dessert!
This recipe is definitely my kind of recipe. It takes a fun viral trend and makes it vegan, gluten-free, refined sugar-free, artificial-dye-free, and a lot more practical too. The dot cakes are every bit as cute as the originals, but the no-waste twist is what makes me love this recipe most.
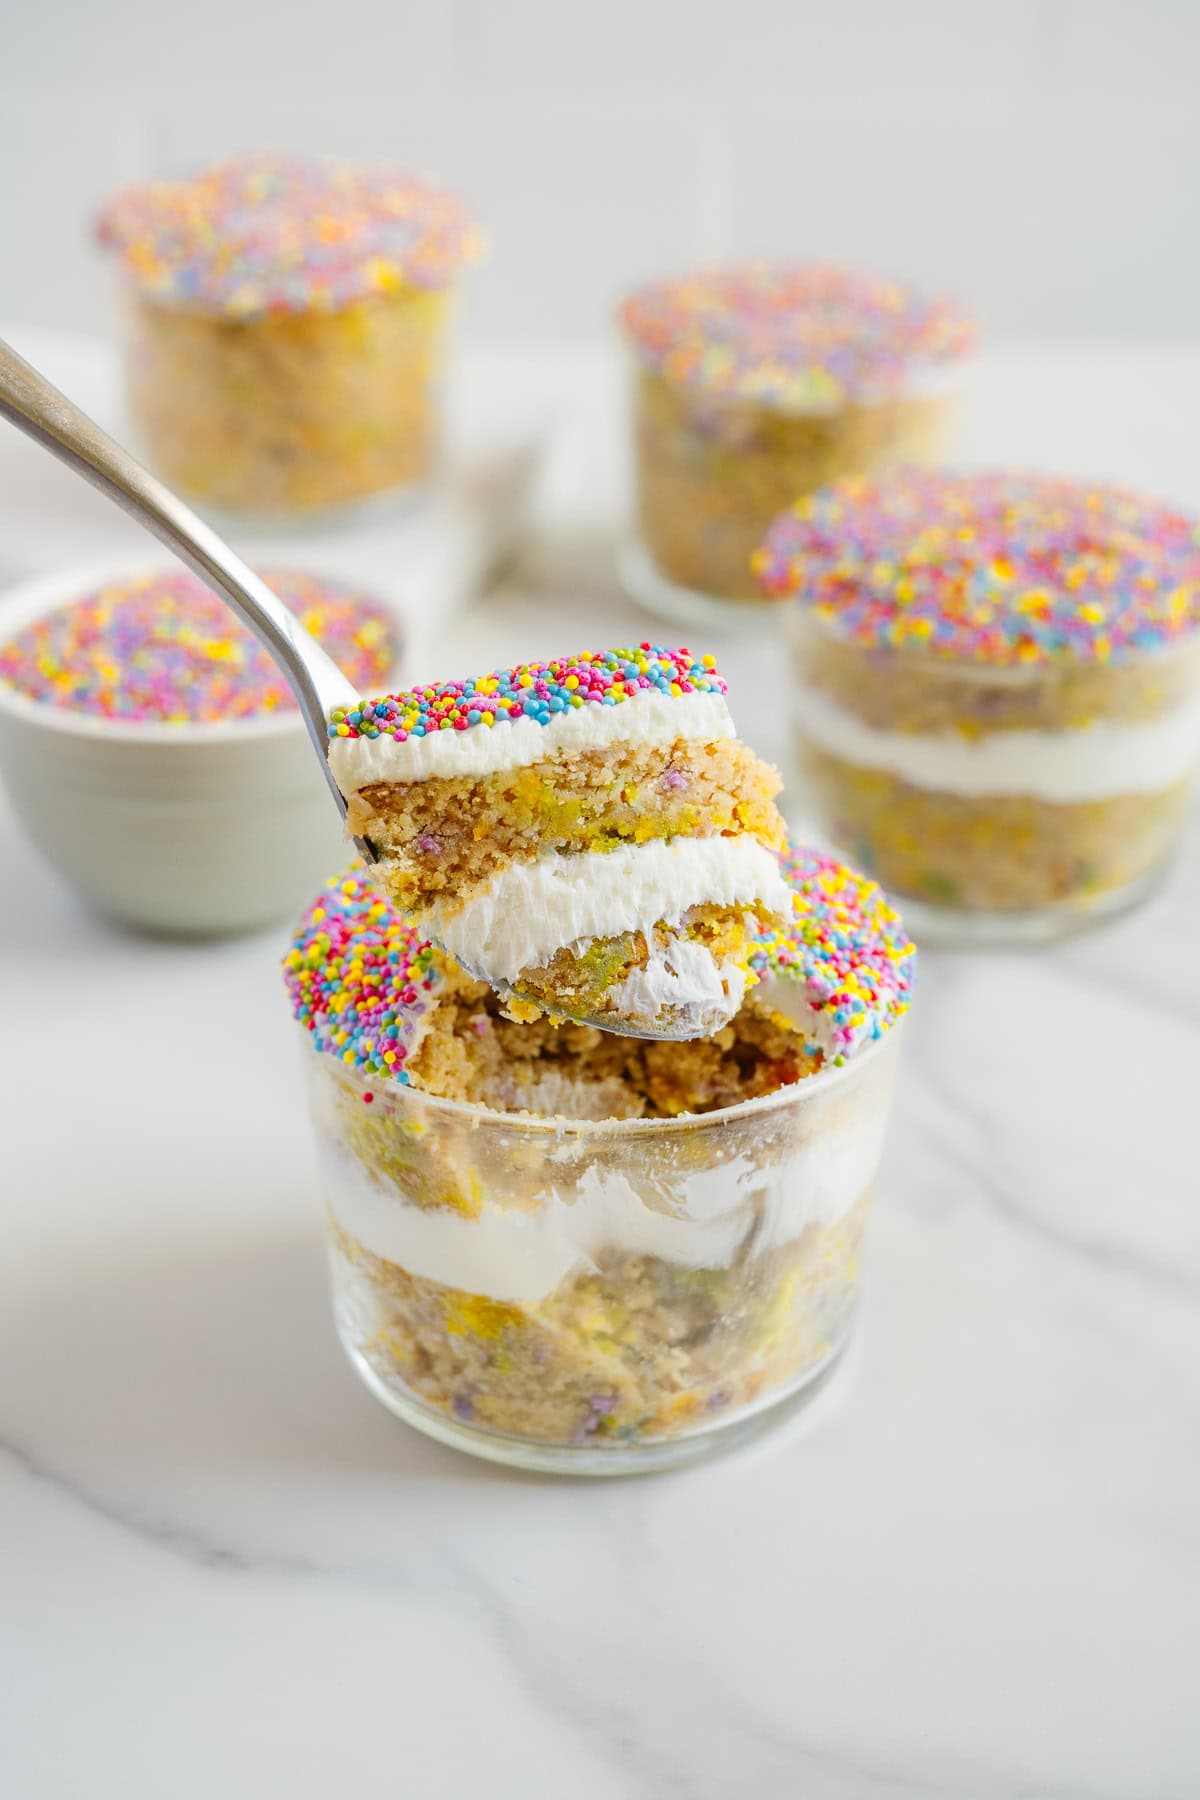
I use all the leftover pieces after cutting out the cake rounds to make additional mini layered cake cups. My kids love the scrap cake versions just as much as the "official" dot cakes - maybe even more because they feel a little more fun and casual.
I also love that this recipe is very low effort for how impressive it looks. There is no need for special cake tools, piping bags or decorating skills. The glasses do most of the work for you!
Ingredients
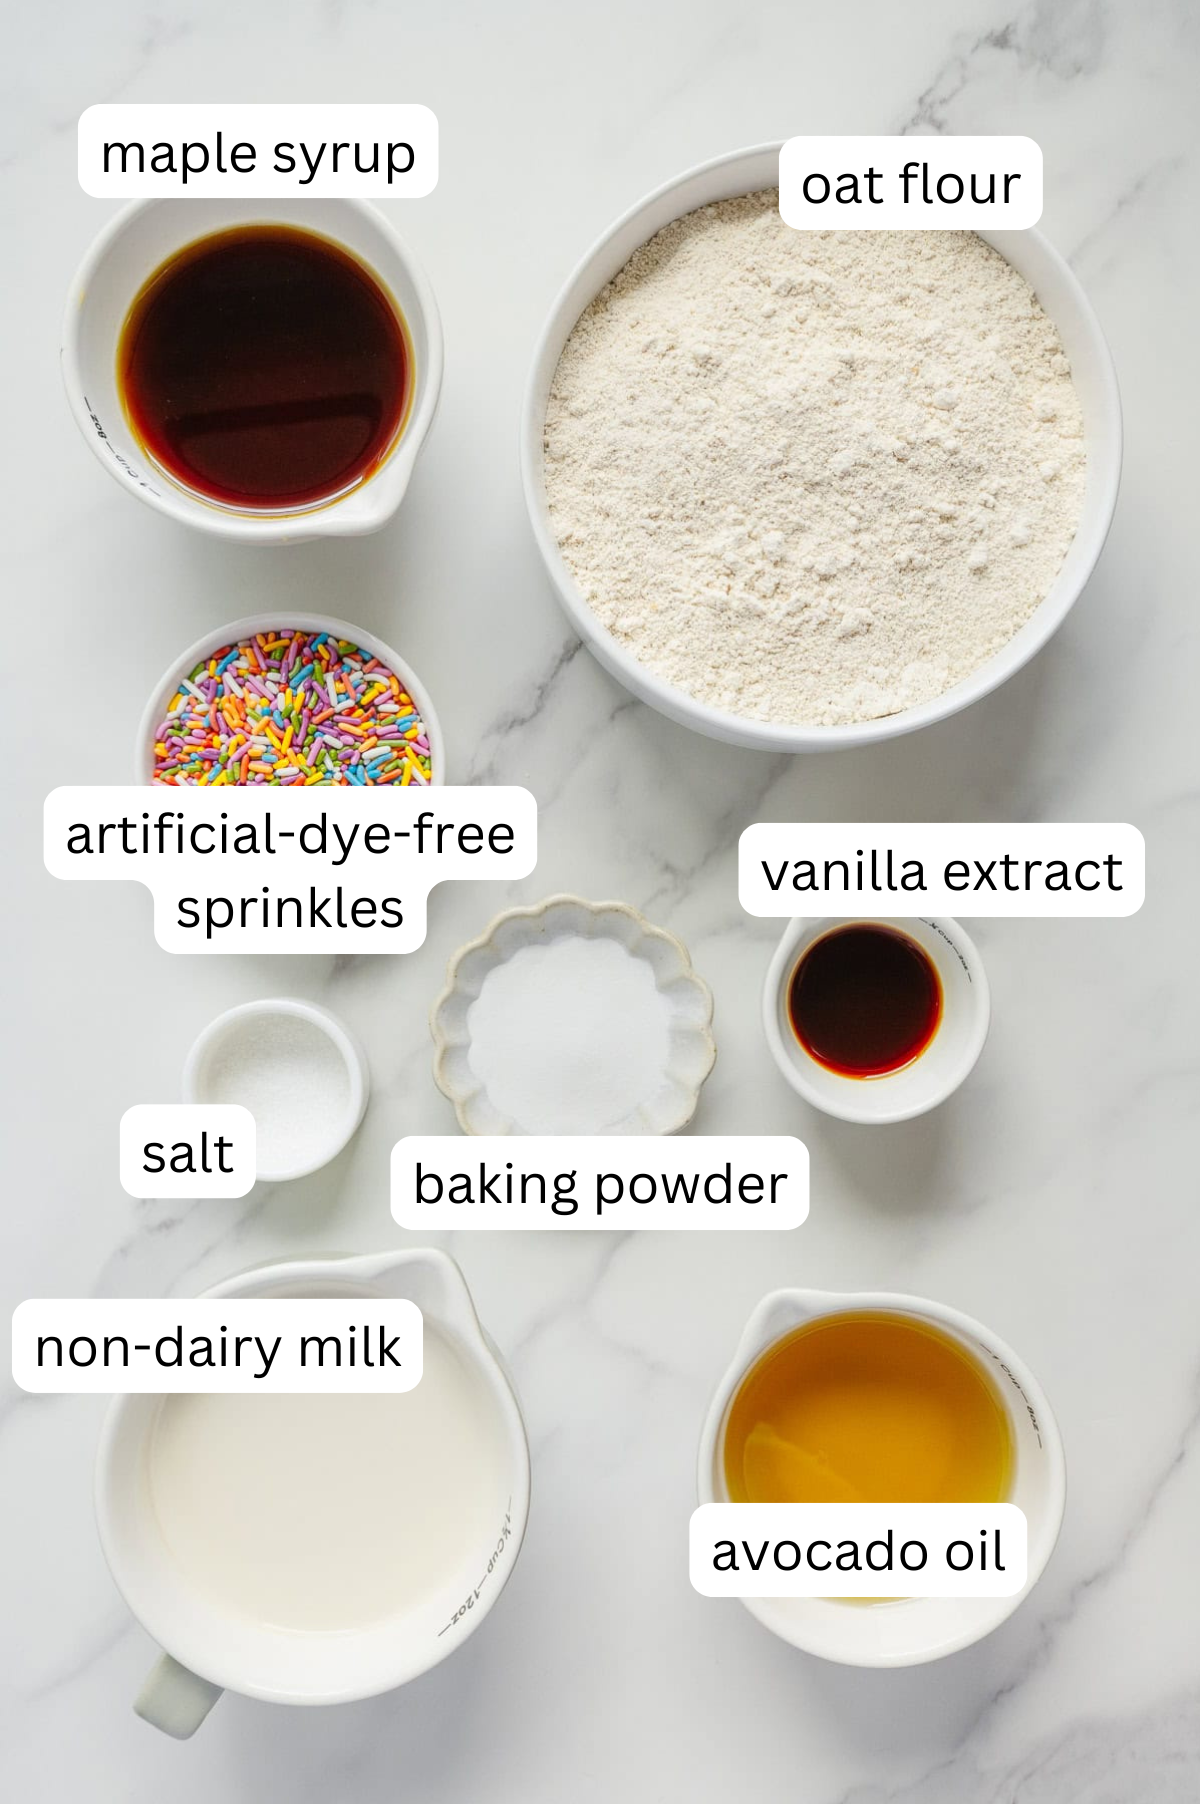
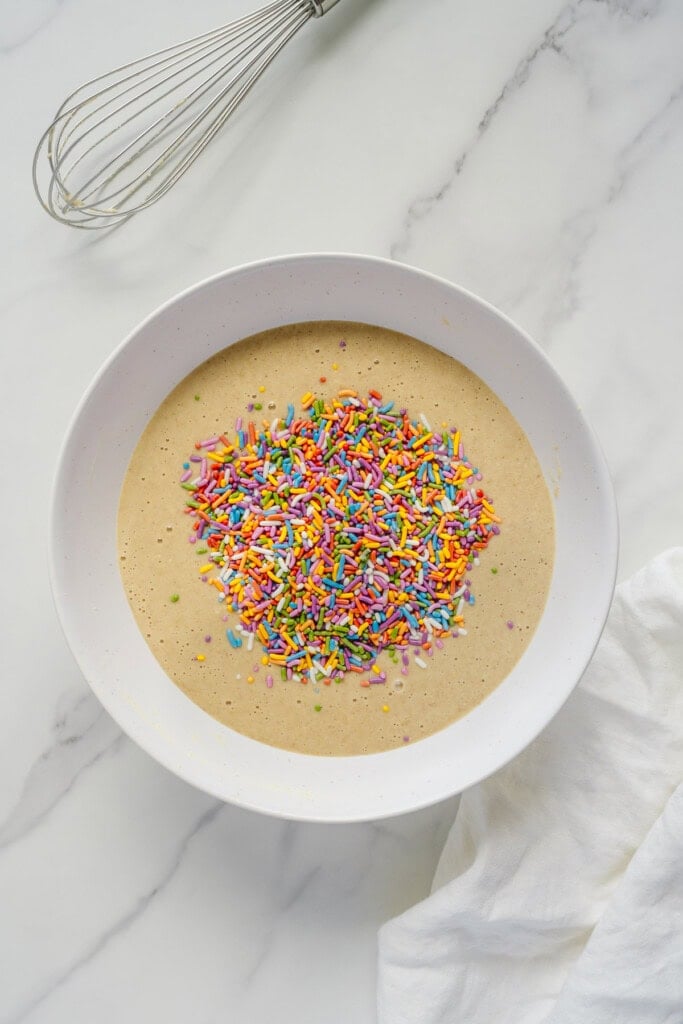
The base of this recipe is my vegan vanilla sheet cake. It's soft, fluffy and lightly sweet with a classic vanilla flavor. To turn it into a funfetti cake, I fold artificial-dye-free sprinkles into the batter before baking.
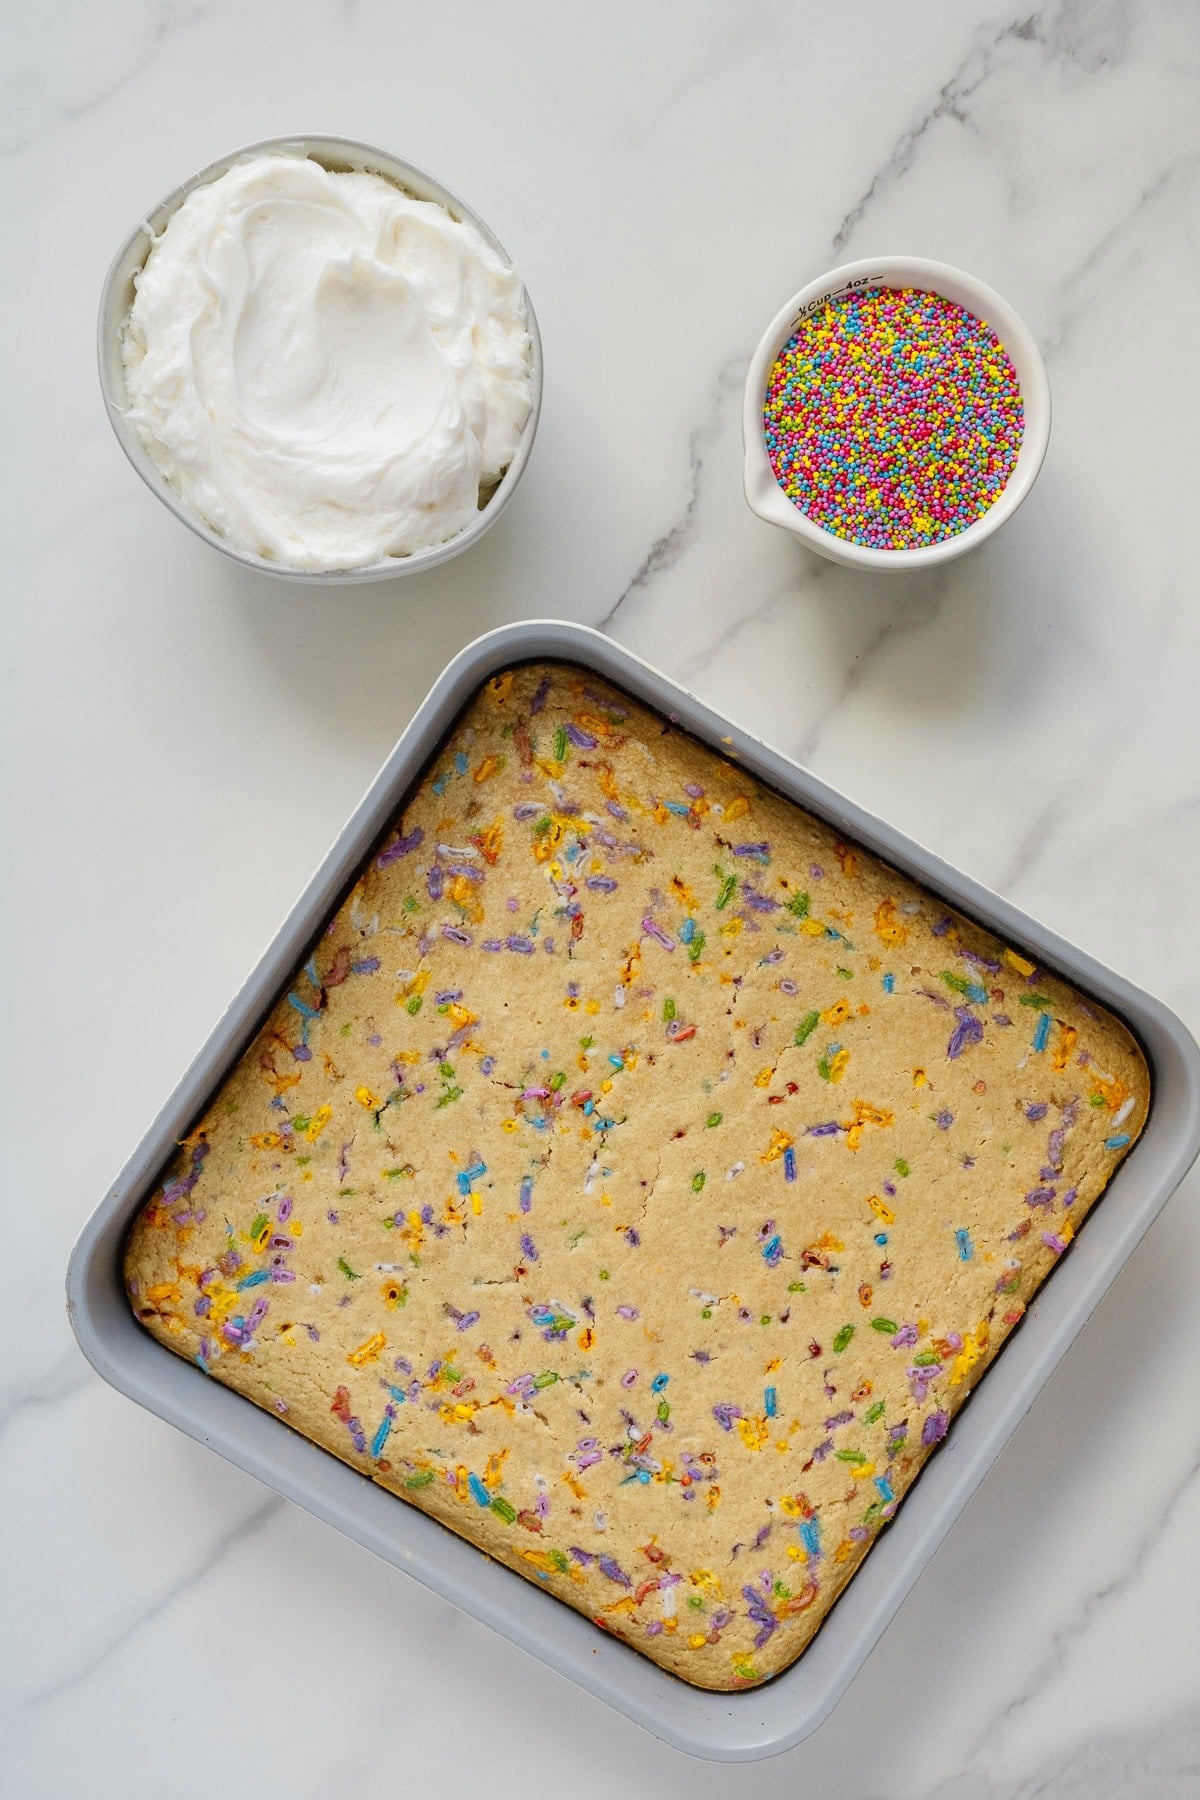
My favorite frosting for these dot cakes is my vegan cream cheese frosting. It has the perfect sweet and tangy flavor and makes the dessert feel a little more bakery-style. The frosting is rich and creamy without being too heavy, and it helps hold the cake layers together nicely inside the glasses.
Instructions
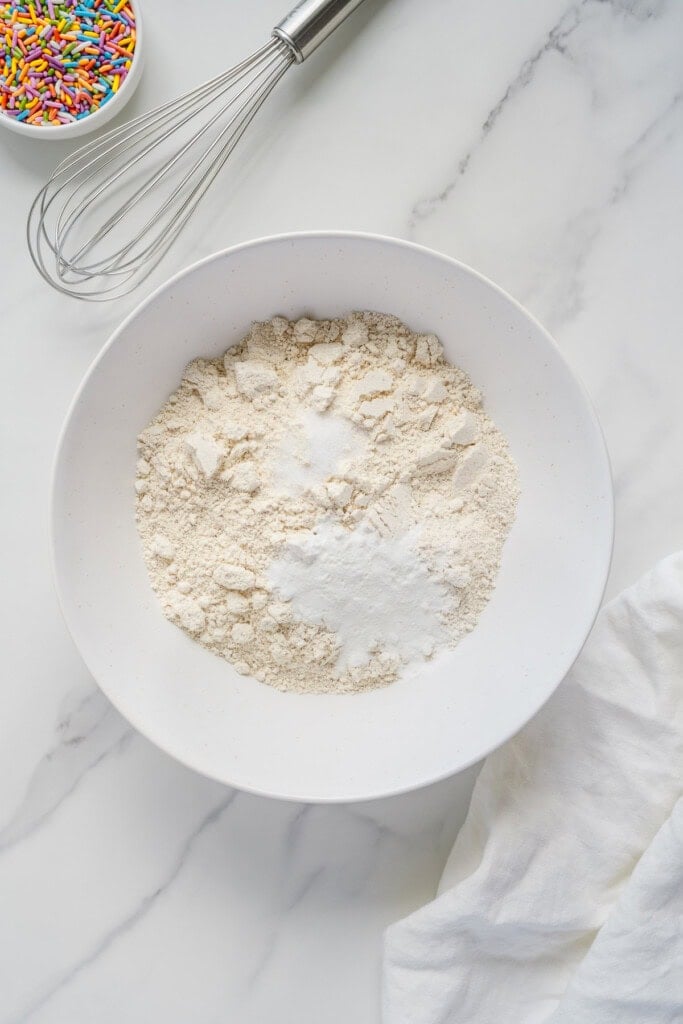
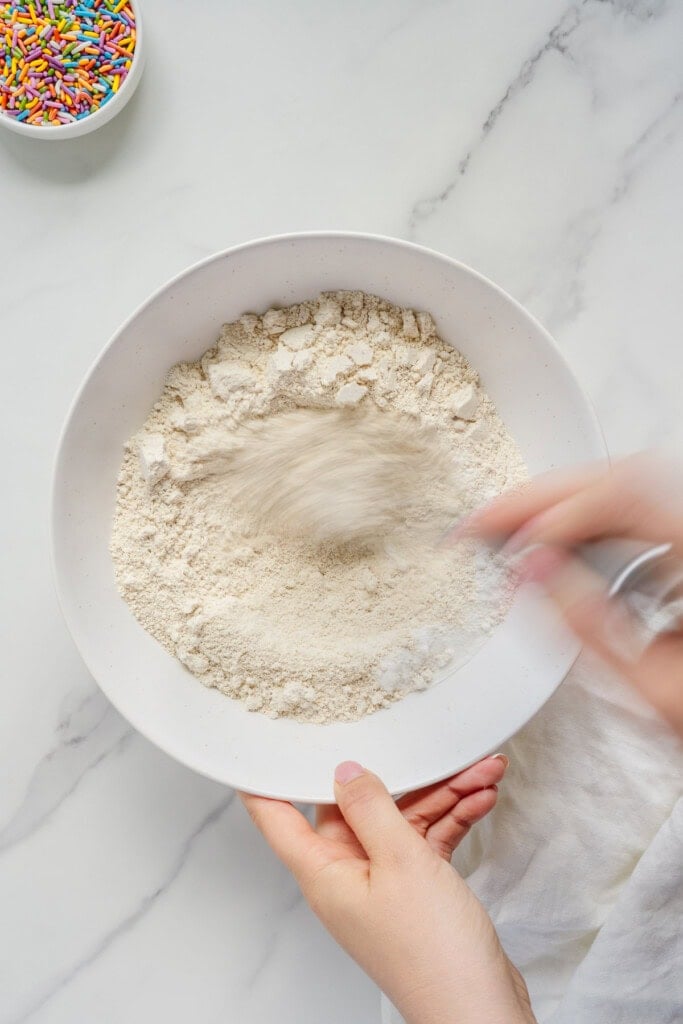
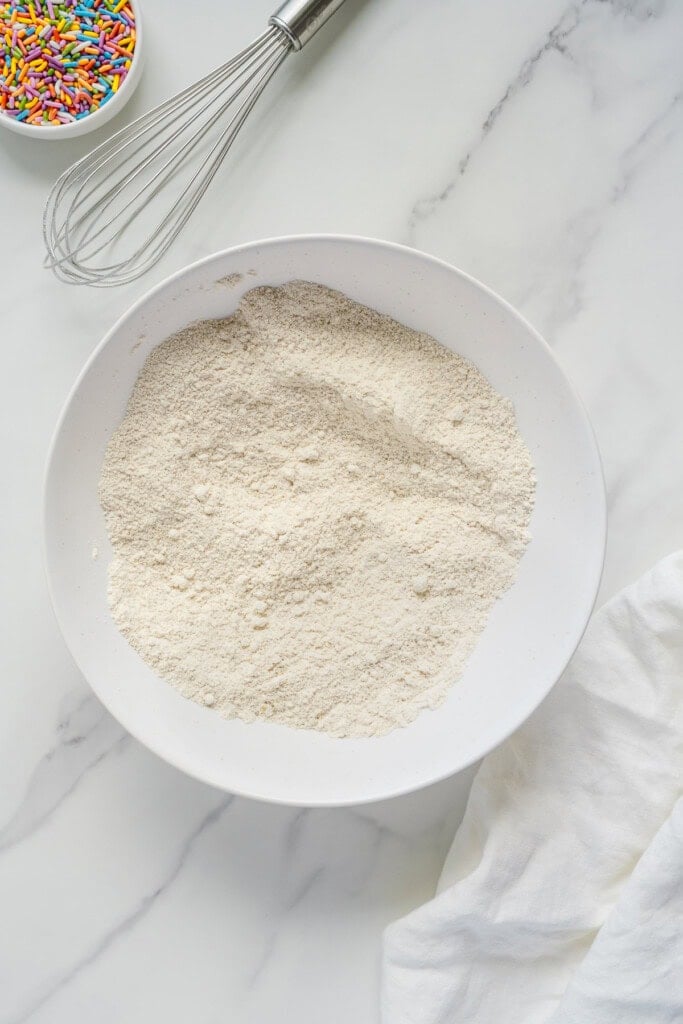
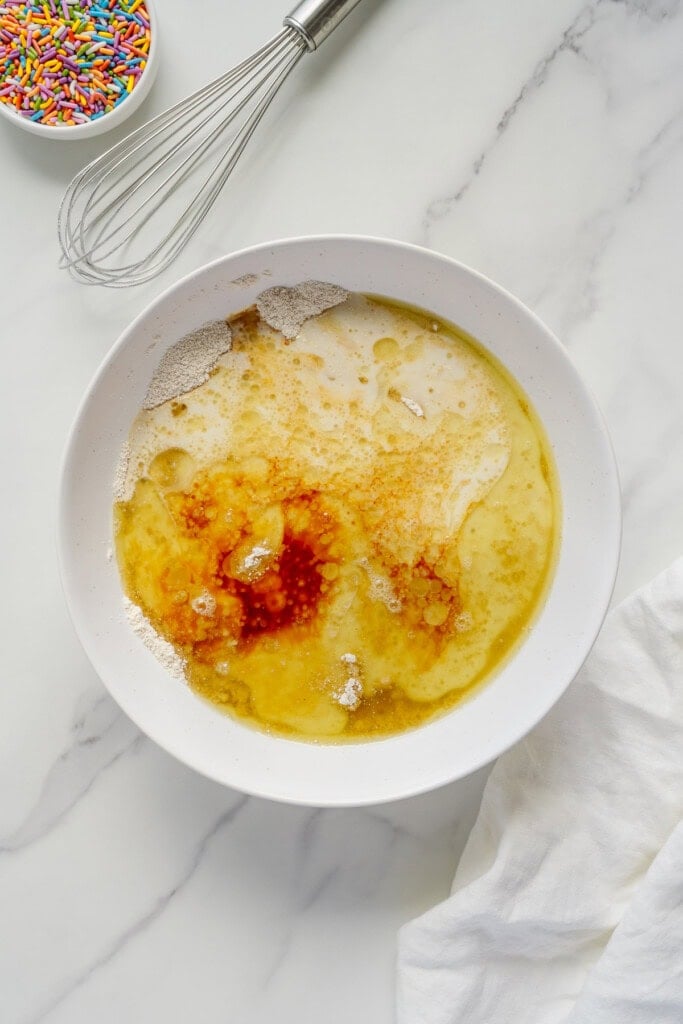
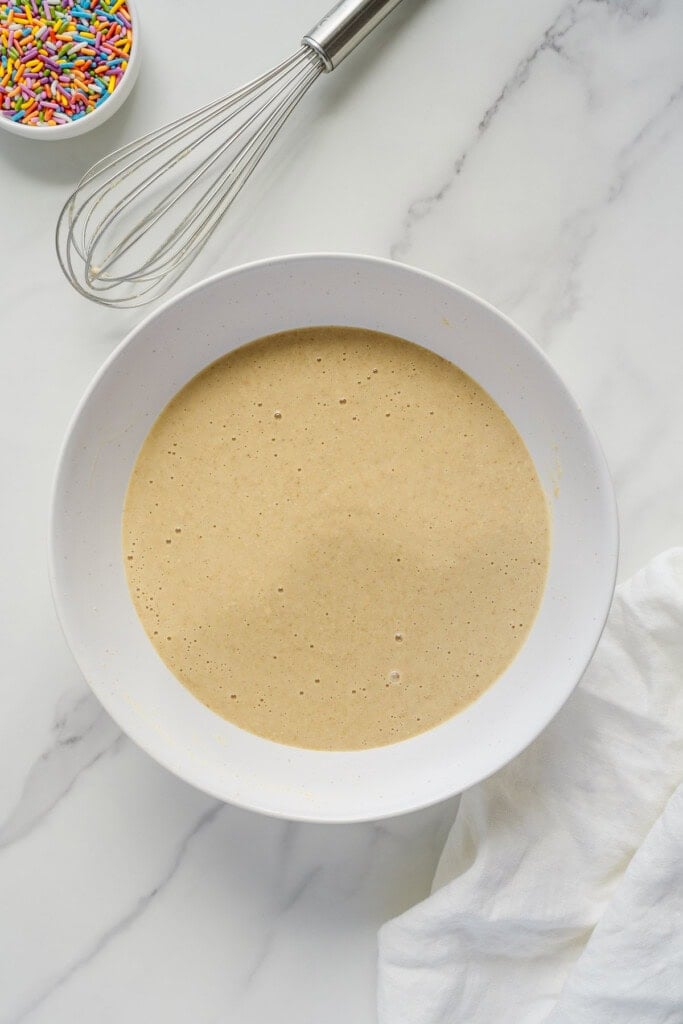
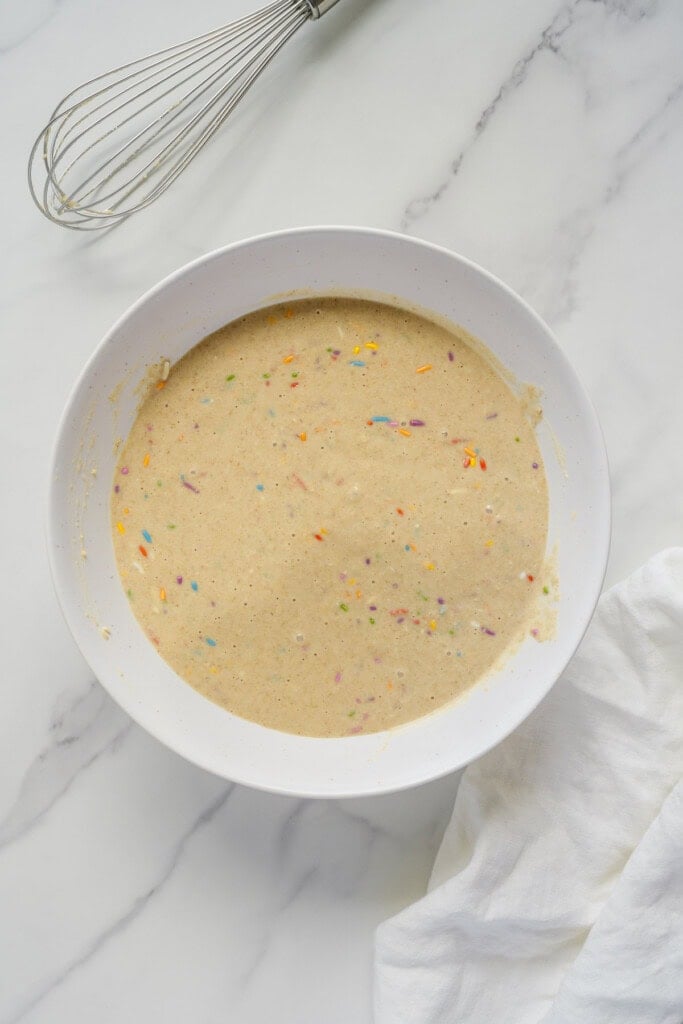
1. Make the batter. Prepare the vanilla sheet cake batter and fold in the sprinkles.
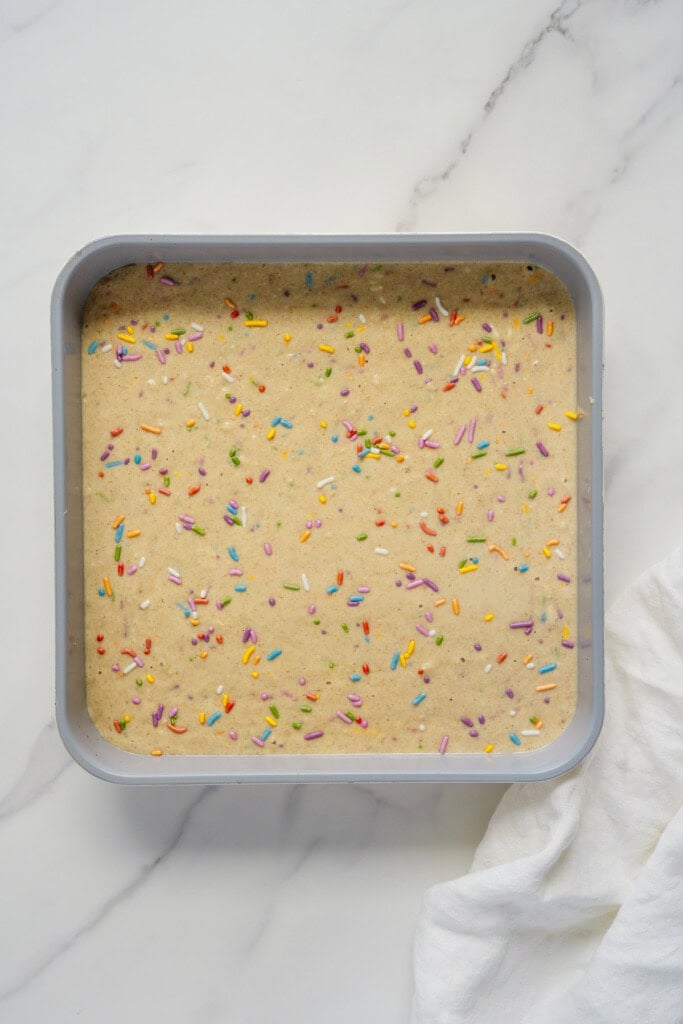
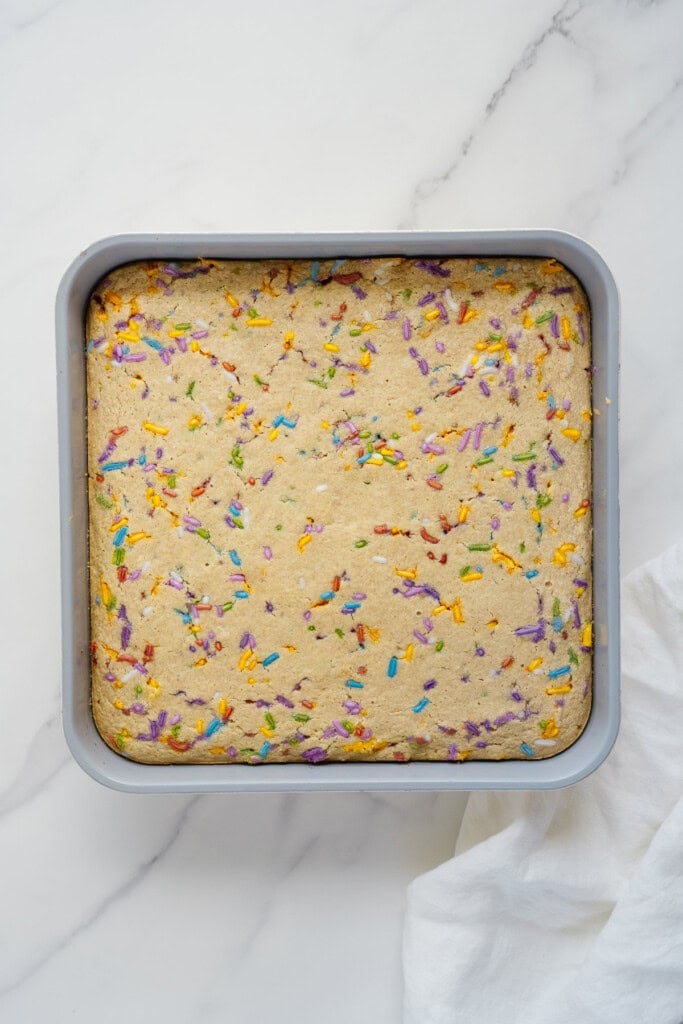
2. Bake the cake. Pour the batter into a a 9x9 baking pan and bake for 30 minutes.
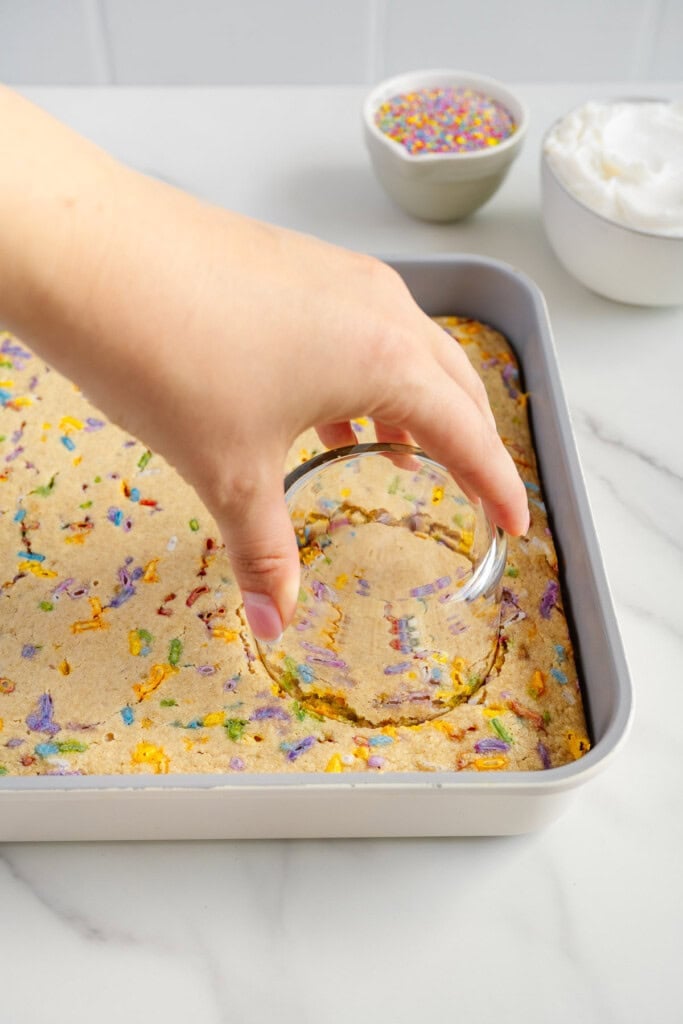
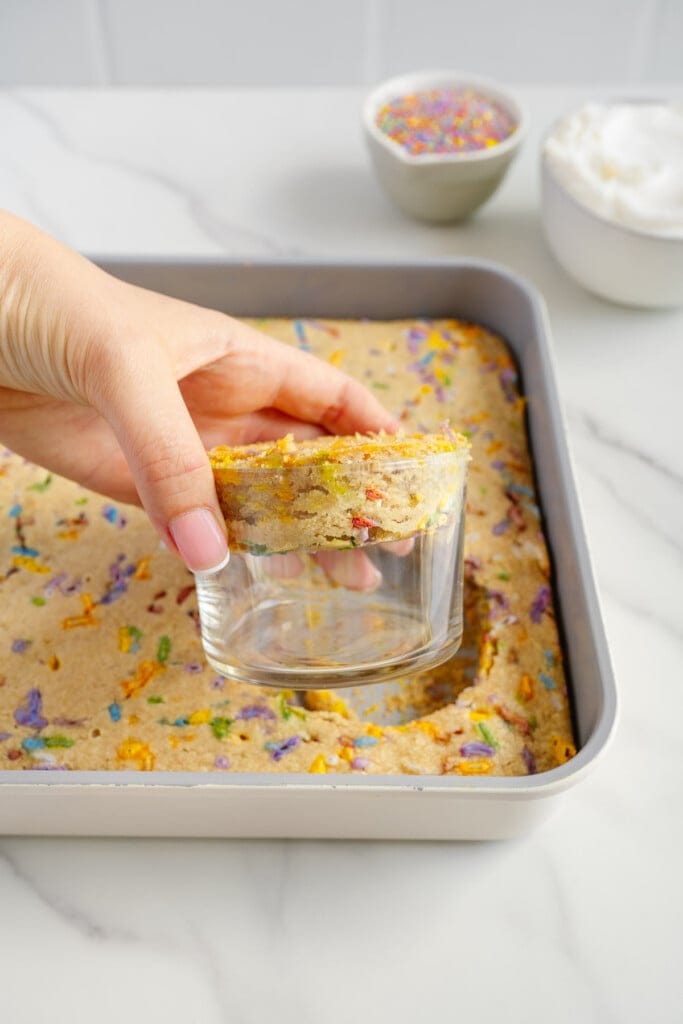
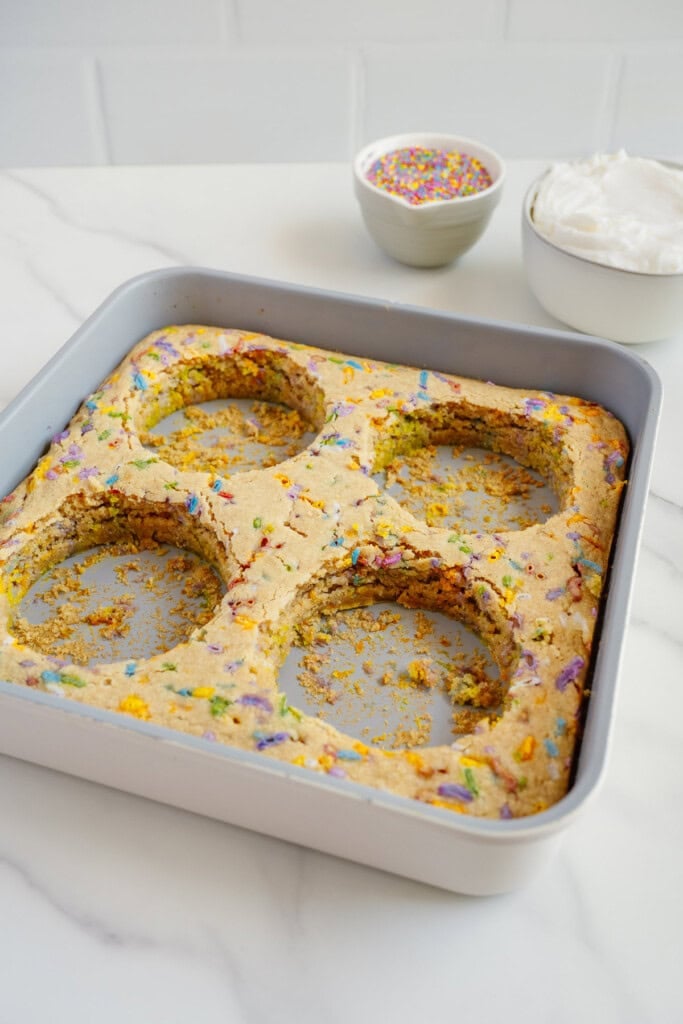
3. Cut out the cake rounds. Use a small glass or round cutter that fits inside your serving glasses. I use small Negroni glasses because they are the perfect size for layering.
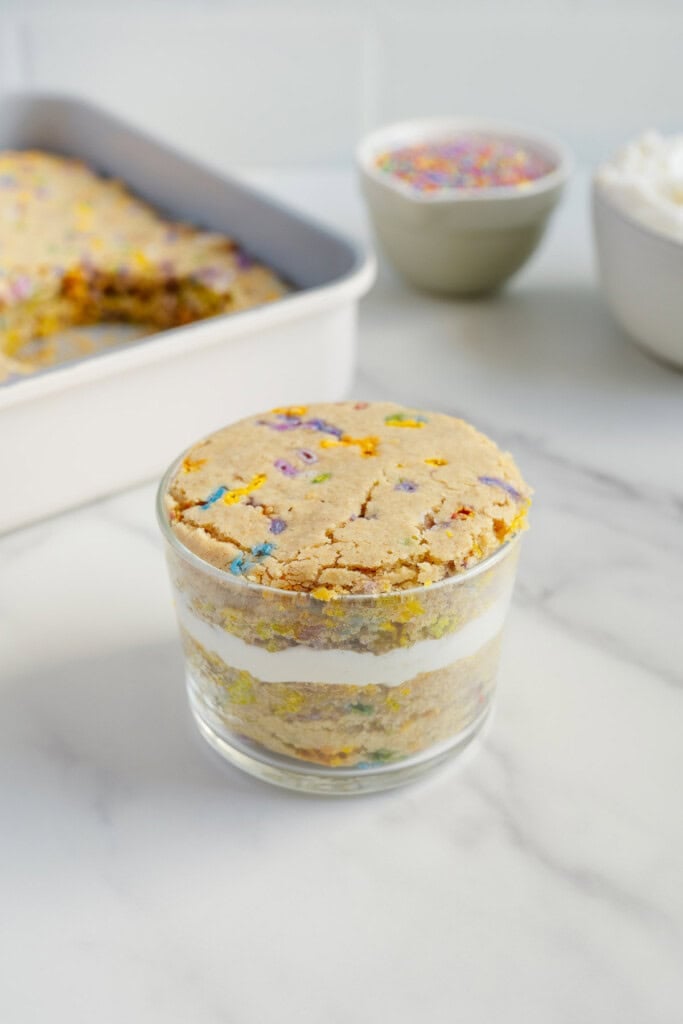
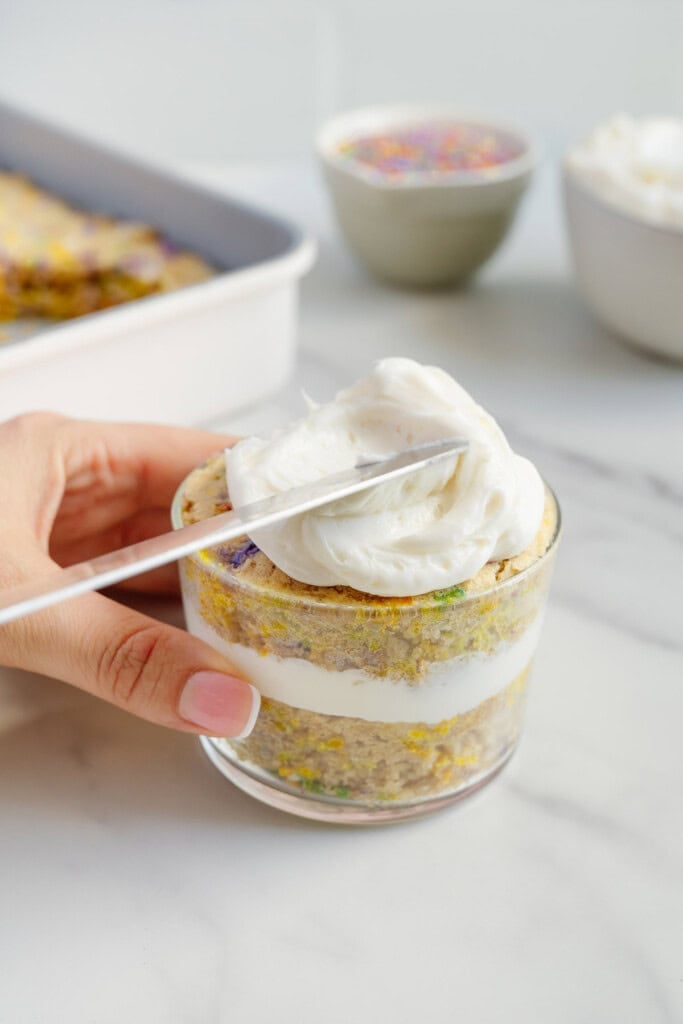
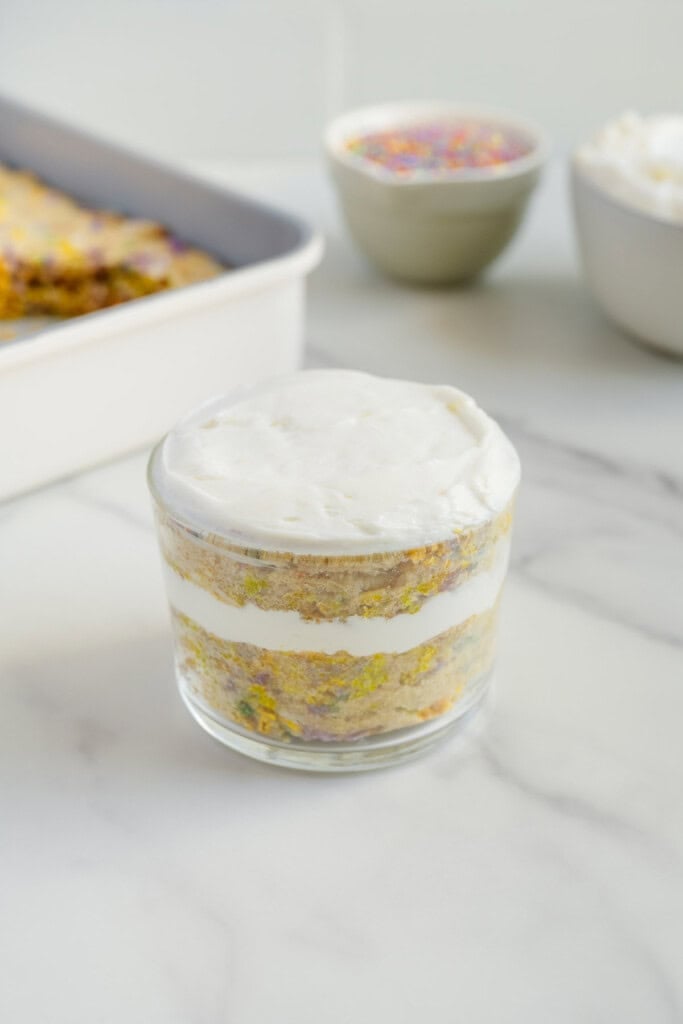
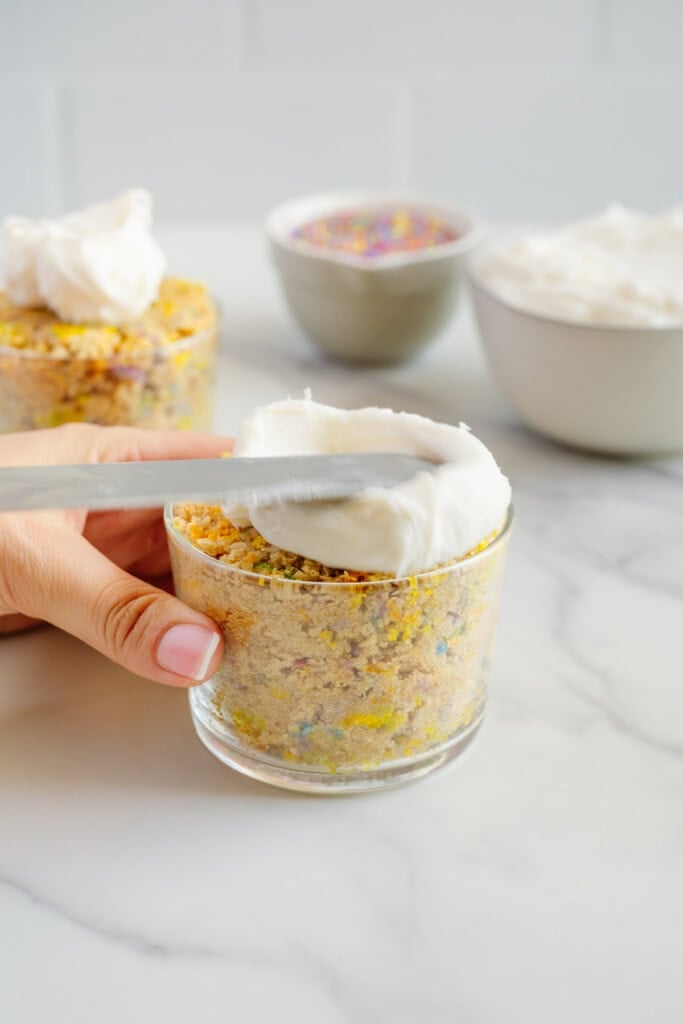
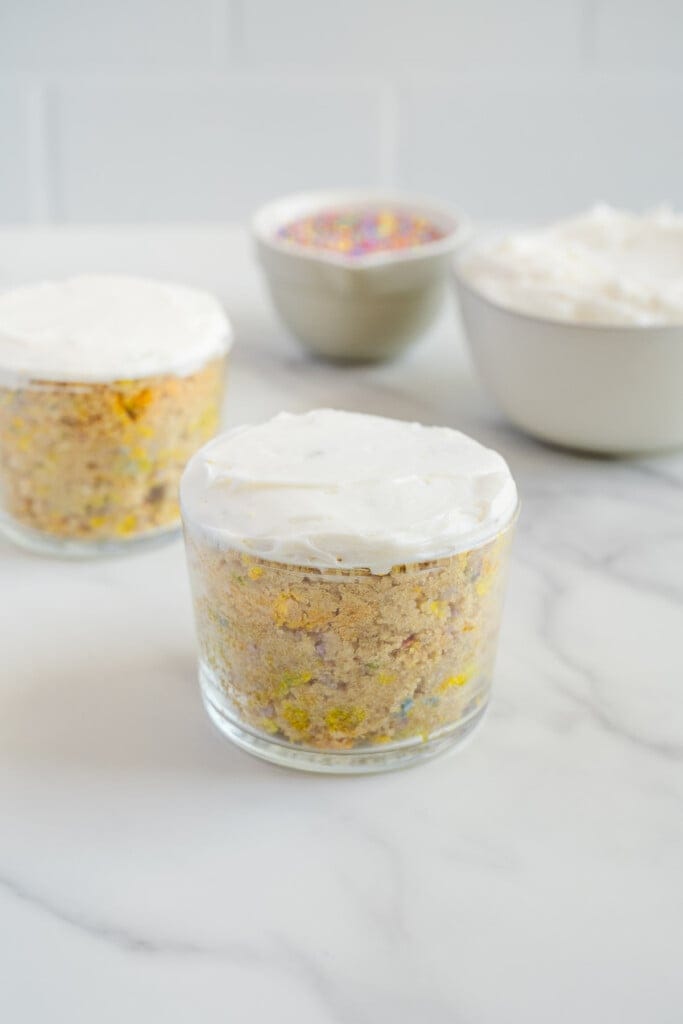
4. Layer the cakes. Place a cake round in the bottom of each glass, add frosting, place another cake round on top, and finish with a final layer of frosting. Use a frosting knife to level off the top layer so it aligns perfectly with the top rim of the glass.
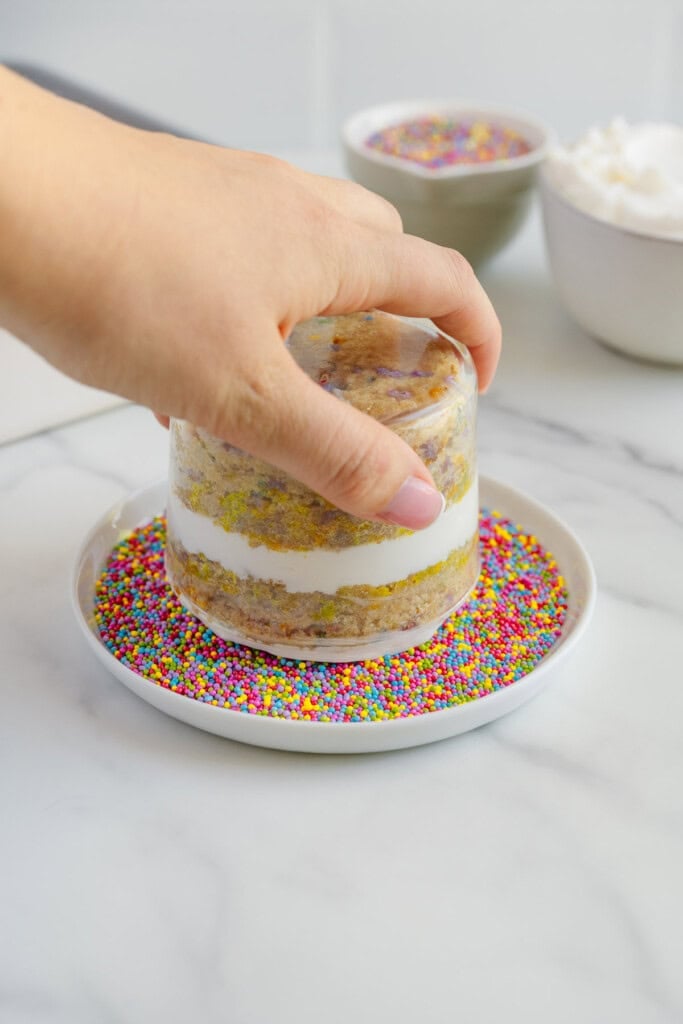
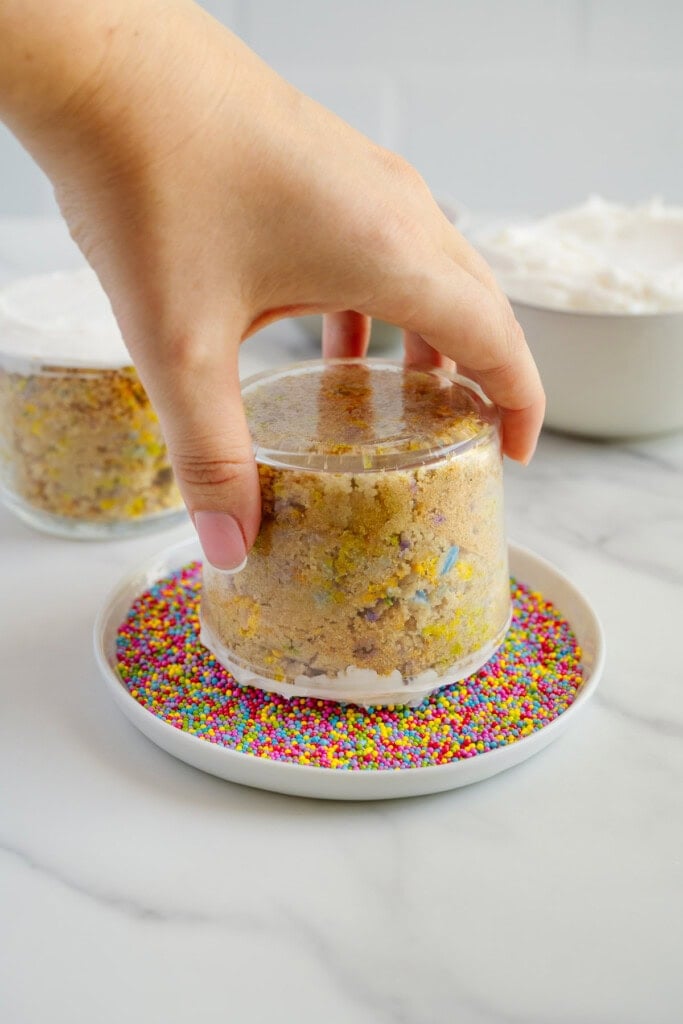
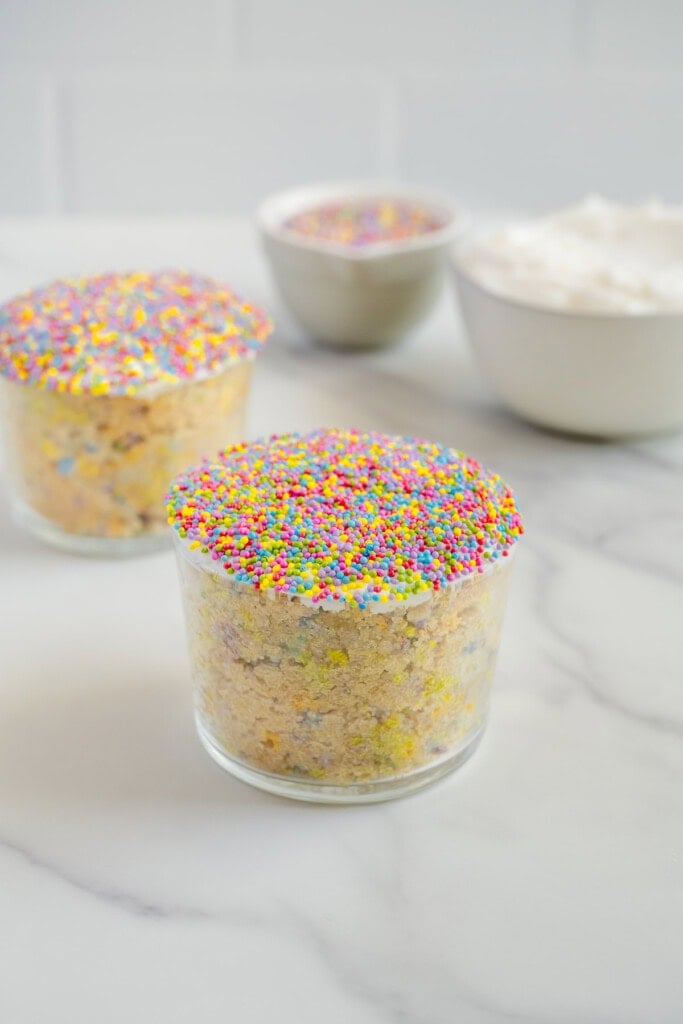
5. Add the dots. Press the frosted tops into dot sprinkles, then freeze the cakes for about an hour so everything sets nicely.

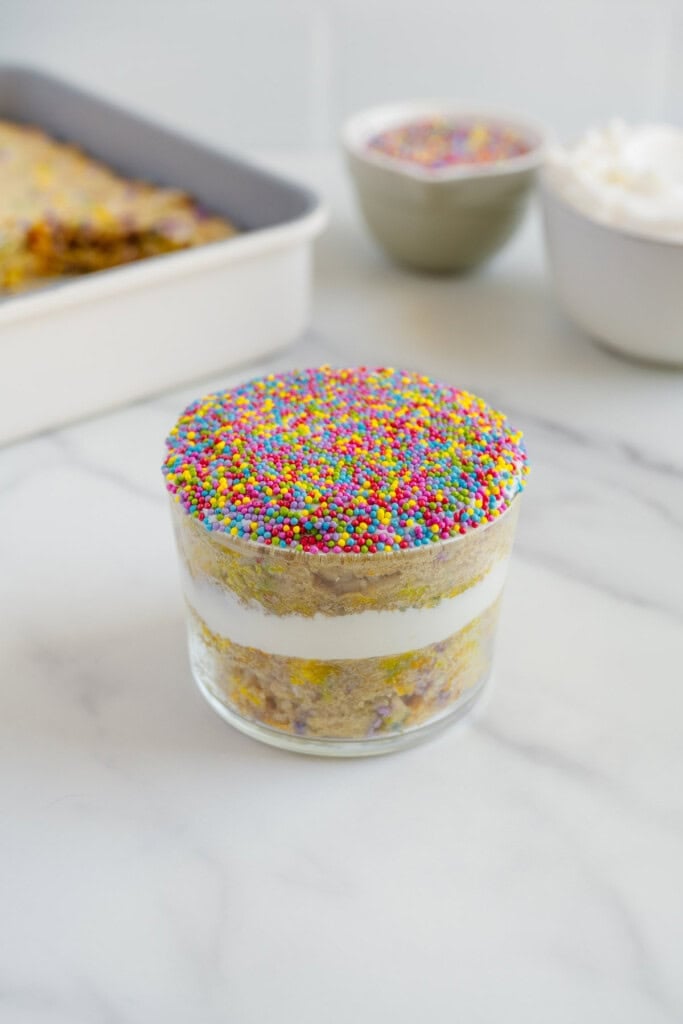
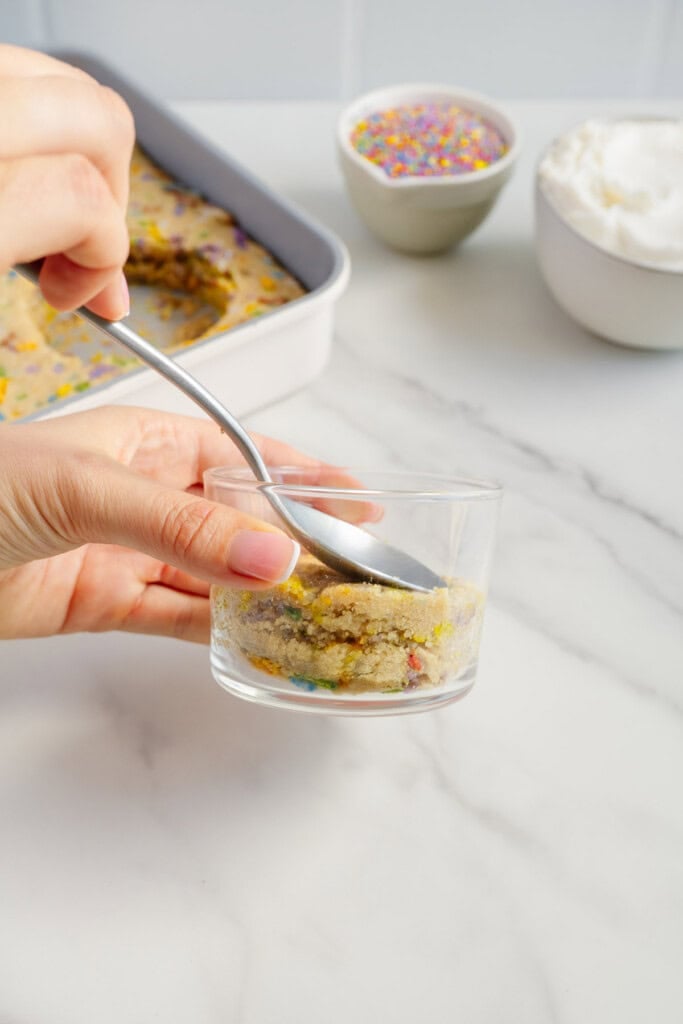
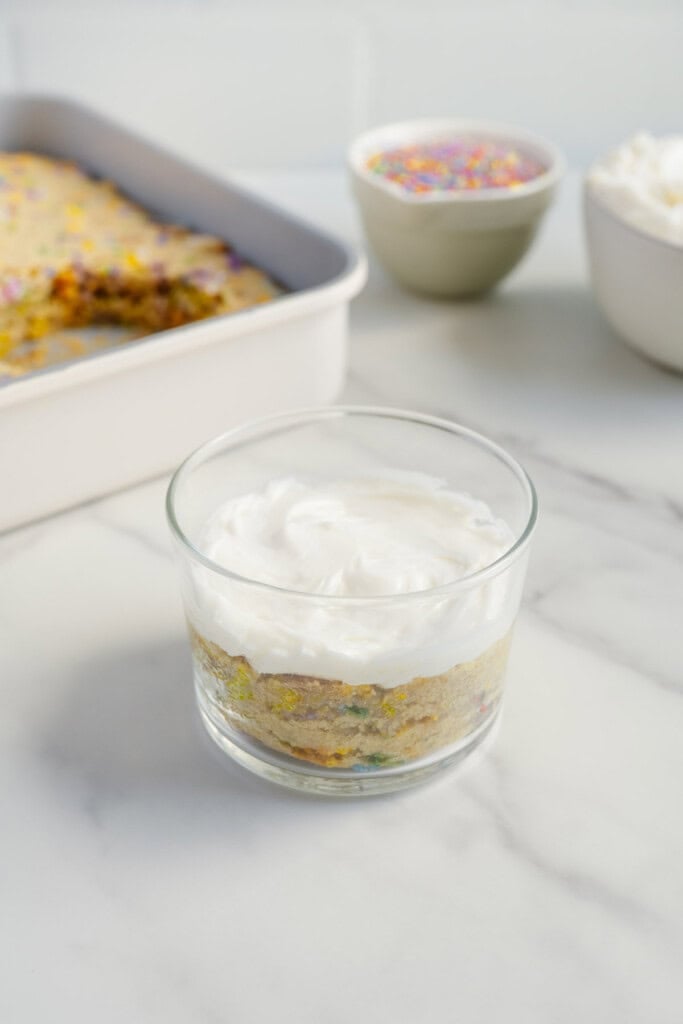
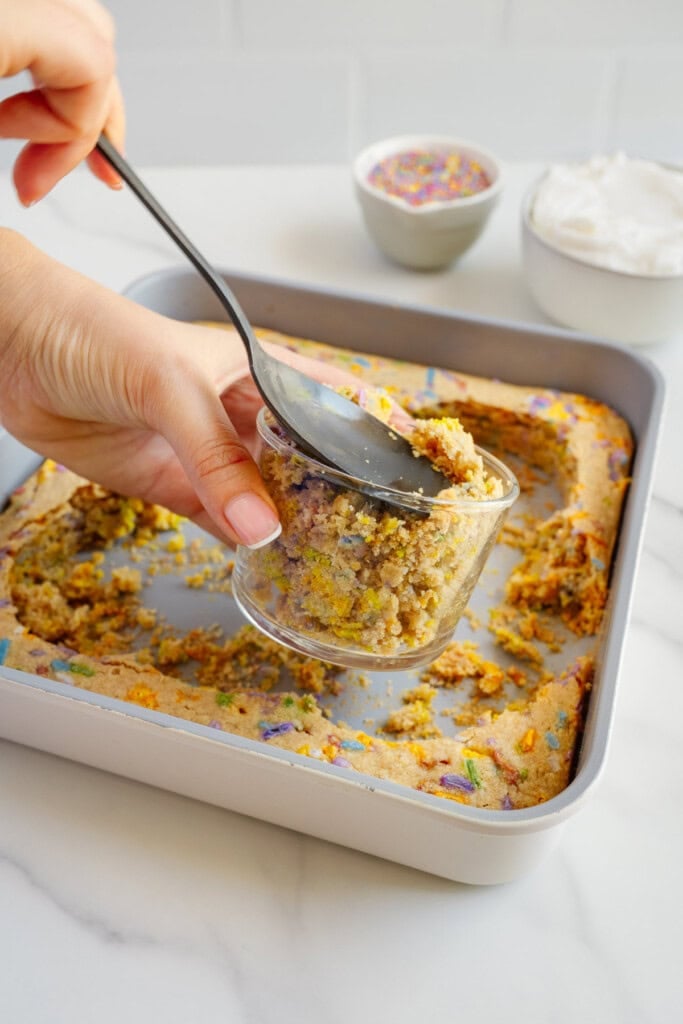
6. Use the scraps. Gather the leftover cake pieces and gently press them into additional glasses. Layer with frosting and more sprinkles to create extra mini cake cups.
Recipe Tips
- Let the cake cool completely. A fully cooled cake is much easier to cut into clean circles.
- Perfection is not required. One of the things I love most about this recipe is that it doesn't have to be perfect. Even if your cake circles aren't perfectly even, the frosting and sprinkles make everything look adorable.
- Customize based on the event! Change the sprinkle colors for birthdays, baby showers, bridal showers, holidays, or any special occasion. You can make a chocolate version using my vegan chocolate sweet potato cake!
These viral dot cakes are cute, customizable, party-friendly, no-waste and allergy-friendly. I hope you enjoy them!
Print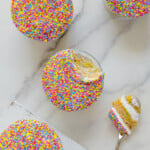
No-Waste Viral Dot Cakes (Vegan + Gluten-Free)
- Total Time: 40
- Yield: 4 dot cakes 1x
- Diet: Vegan
Description
These viral dot cakes immediately caught my attention on social media. They're adorable, fun to make, and perfect for parties. But all I could think about was the leftover cake scraps. After cutting circles from a sheet cake, you're left with so much perfectly good cake. So I created a no-waste version that turns every last crumb into more dessert!
Ingredients
- 1 batch vanilla sheet cake batter, prepared exactly as written
- 1 batch frosting: vegan cream cheese frosting or vanilla white sweet potato frosting
- ½ cup sprinkles for the cake
- dot sprinkles, for decorating
Instructions
- Prepare the cake batter. Make the vanilla sheet cake batter exactly as written in the original recipe. Fold ½ cup sprinkles into the batter to turn it into a funfetti cake (before baking).
- Bake the cake. Pour the batter into a 9x9-inch baking pan and bake according to the original recipe instructions. If using a ceramic coated baking pan, reduce oven tempreature by 25 degrees. The cake is done when the center is set and a toothpick inserted into the middle comes out clean or with a few moist crumbs.
- Cool completely.
- Cut out the cake circles. Using your glass jars, cut circles from the chilled cake. You will need 4 circles total to make two full layered dot cakes.
- Assemble the full layered dot cakes. Place one cake circle in the bottom of each glass jar or cup. Add a layer of frosting. Top with a second cake circle, then add another layer of frosting. Use a cake frosting tool or knife to level out the frosting.
- Add the cake dots. Invert the cups to coat the top of the frosting in one even layer of dot sprinkles. Place in the freezer to set for an hour then enjoy.
- Use the leftover scraps. Gather the remaining cake scraps and lightly press them together with your hands. Use these scraps to create additional individual dot cakes in extra jars or cups. Layer the pressed cake scraps with frosting (evening out with the frosting knife) and invert the cups to coat the top of the frosting in one even layer of dot sprinkles. Place in the freezer to set for an hour then enjoy. I like to do just one layer of cake ¾ of the way full and then ¼ of the cup is frosting. Place in the freezer to set for an hour then enjoy.
- Prep Time: 10
- Cook Time: 30
- Category: Dessert
- Method: Baking
Leave a Reply