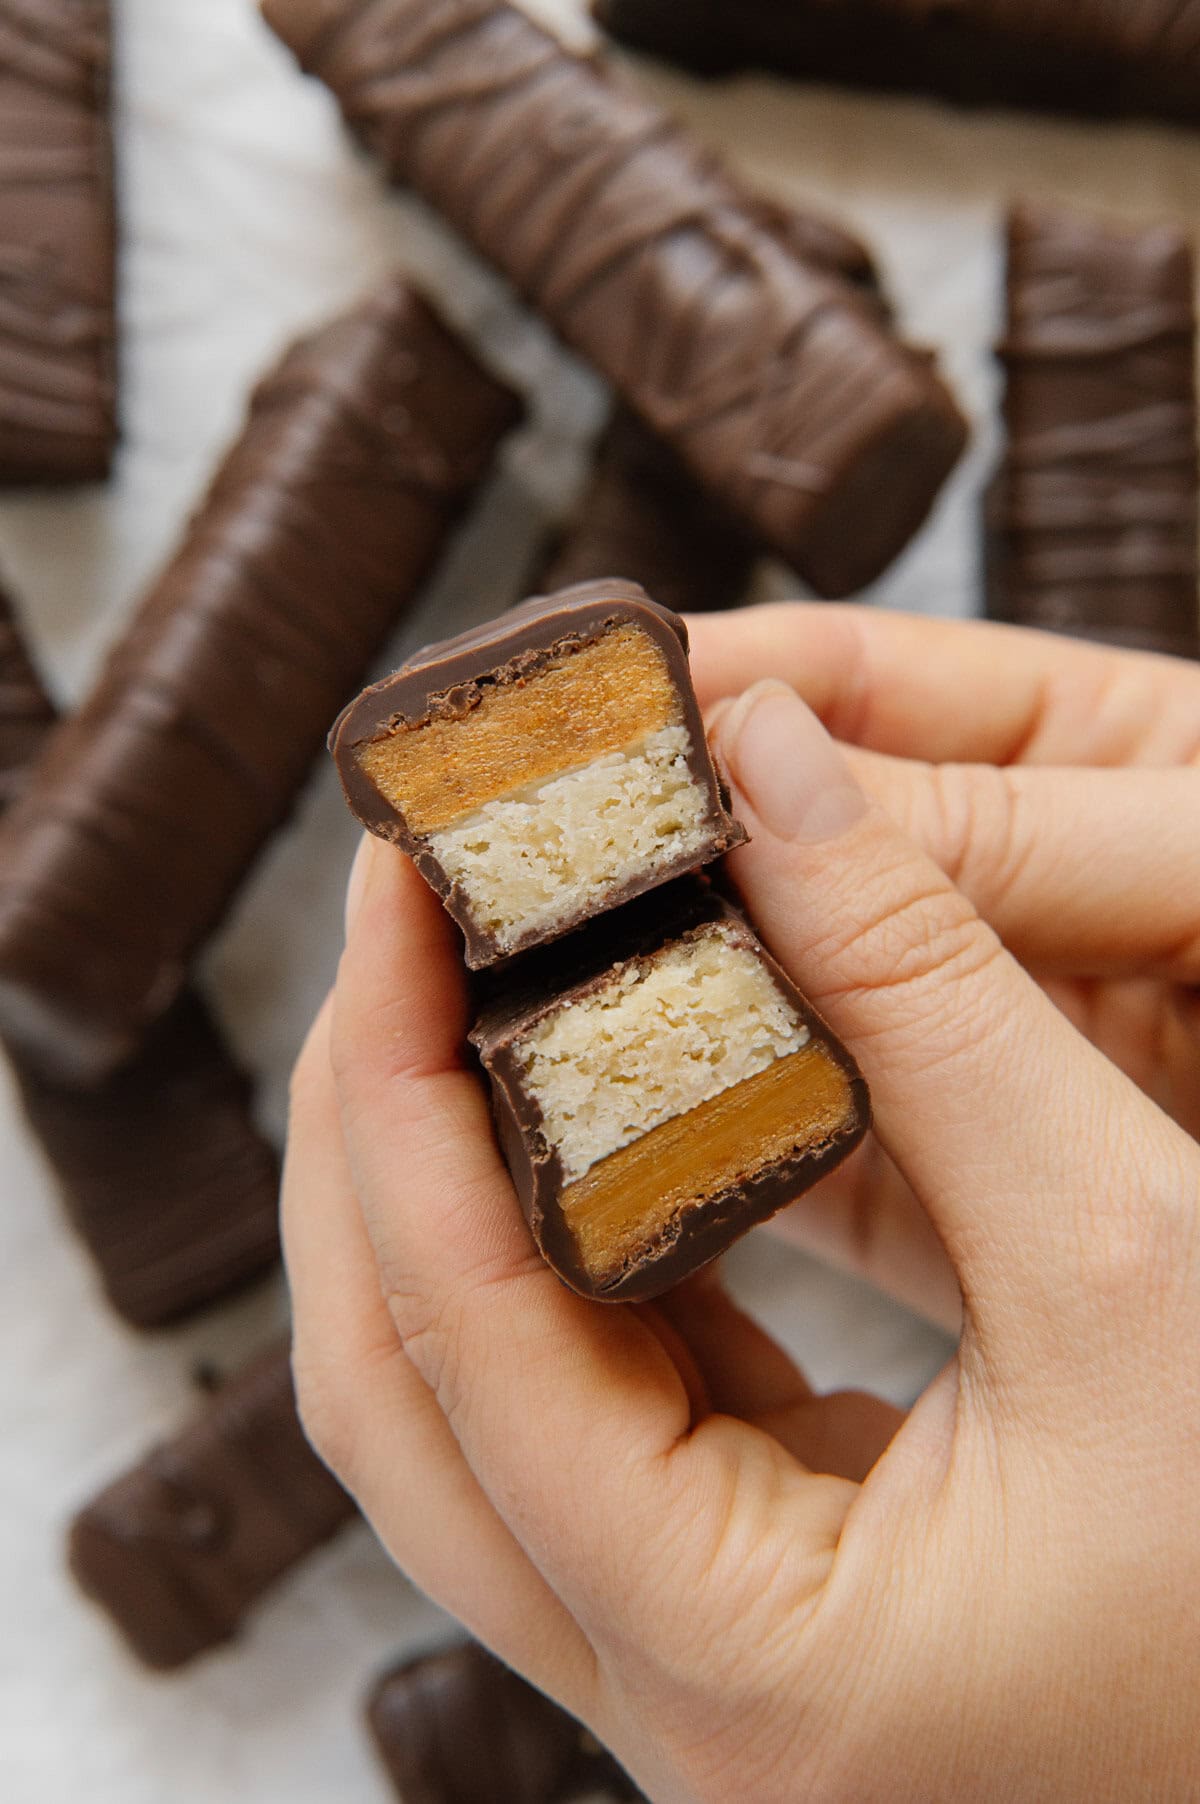
These homemade Twix bars are a healthier take on the nostalgic candy we all know and love. They feature three irresistible layers: a crisp shortbread cookie, creamy almond butter caramel and a rich chocolate coating. All of these are made with simple, wholesome ingredients and result in a treat just as decadent as the original!

Nothing really compares to a Twix bar. The crunchy cookie layer and creamy caramel center coated in chocolate create the ultimate candy bar bite. I've always wanted to create a healthier homemade version that's vegan, gluten-free and refined sugar-free while still capturing that authentic Twix texture and flavor.
It took a lot of testing (and I mean a lot) to get it right, and this version truly checks all the boxes. The biggest challenge was the shortbread base. Every time I tried to recreate it, it turned out too soft and chewy rather than crispy and snappy like the real thing. After many tests with almond flour, I finally discovered that adding arrowroot flour to the mix helps bind and dry the dough enough to achieve that perfect shortbread texture. Once I nailed this layer, I knew this recipe was going to be something special!
Each layer of these homemade Twix bars is simple, but know going in that the process requires some patience. You can't make it all in one day since each layer needs time to cool and freeze before moving on to the next. But the actual hands-on time is minimal, and the results are absolutely worth it.
The Three Layers
1. The Shortbread Layer

This layer sets the foundation for the classic Twix crunch. The simple ingredient combo gives you a golden, buttery cookie that snaps just like a real Twix.
Make sure to use blanched almond flour here (not almond meal with skins) for the best texture and color. I don't recommend swapping flours in this recipe since the balance is key to getting that authentic shortbread consistency.


2. The Caramel Layer
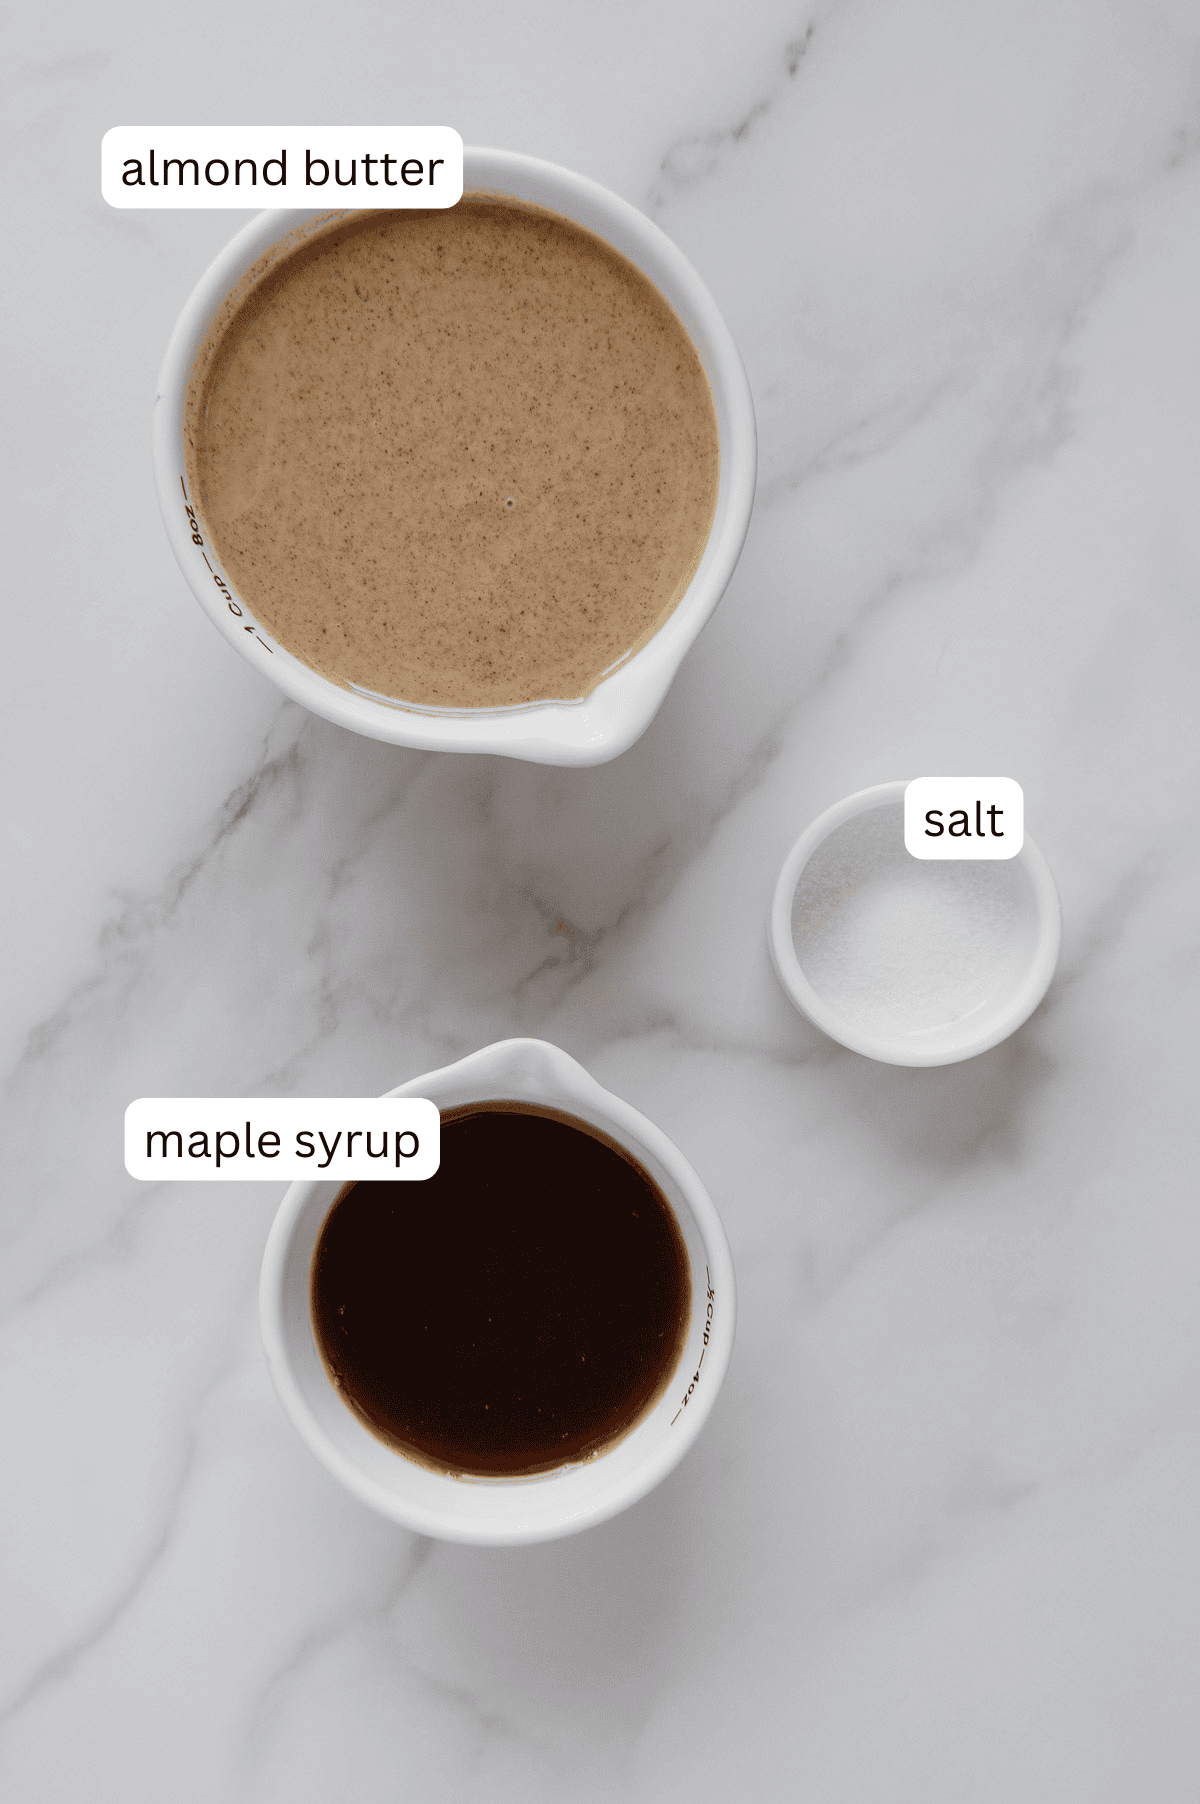
The caramel is as easy as it gets. I originally tested this recipe with my date caramel, but it didn't pair as well with the shortbread. Instead, I found that a simple mixture of almond butter, maple syrup and a pinch of salt creates the perfect smooth, rich and slightly chewy layer.
No coconut oil needed here! The caramel firms up beautifully on its own and stays soft enough to bite into once frozen. Just make sure your shortbread layer has cooled completely before spreading it on top. I often pop the pan into the freezer for a few minutes to speed up the cooling process.


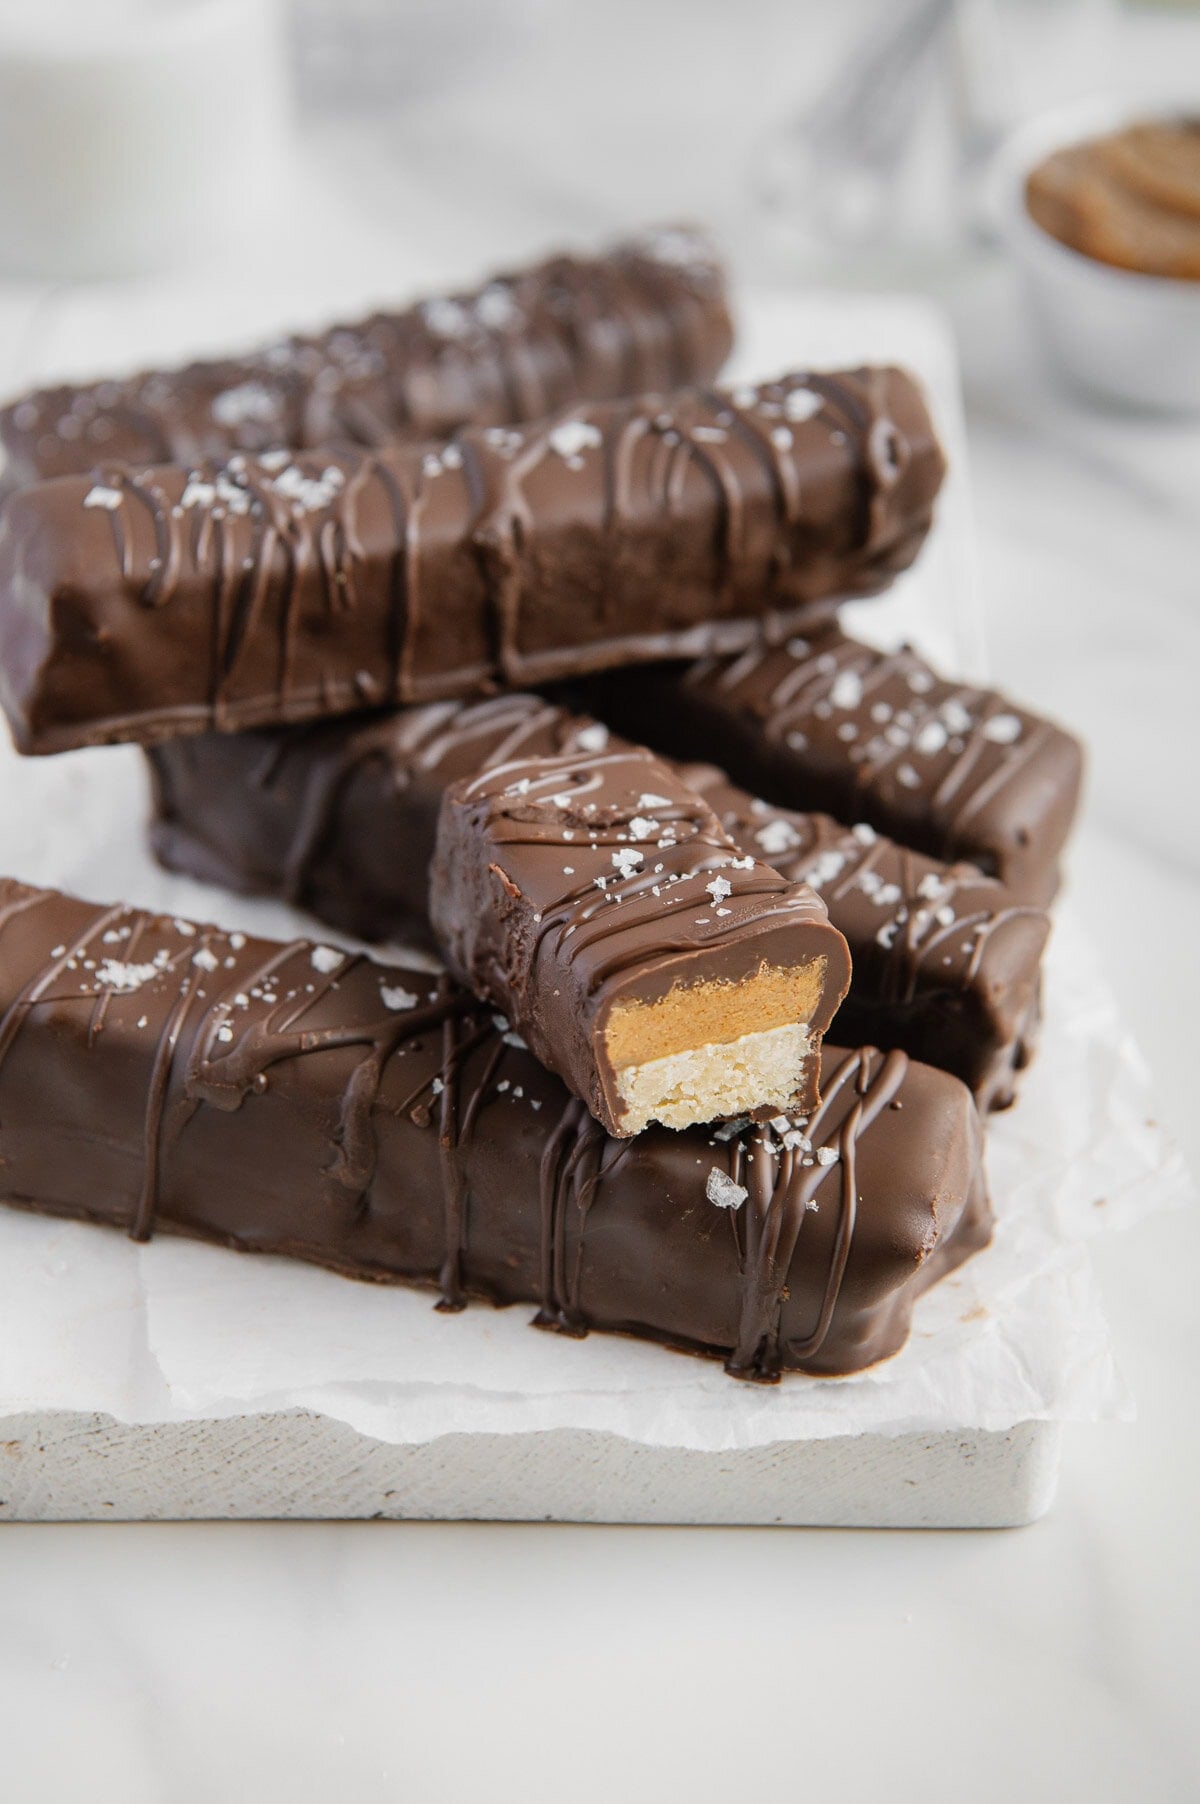
3. The Chocolate Coating
This is where the magic happens. Once the caramel layer is fully frozen, slice the bars into classic Twix-sized rectangles (about ¾ inch wide) and dip them into melted chocolate.
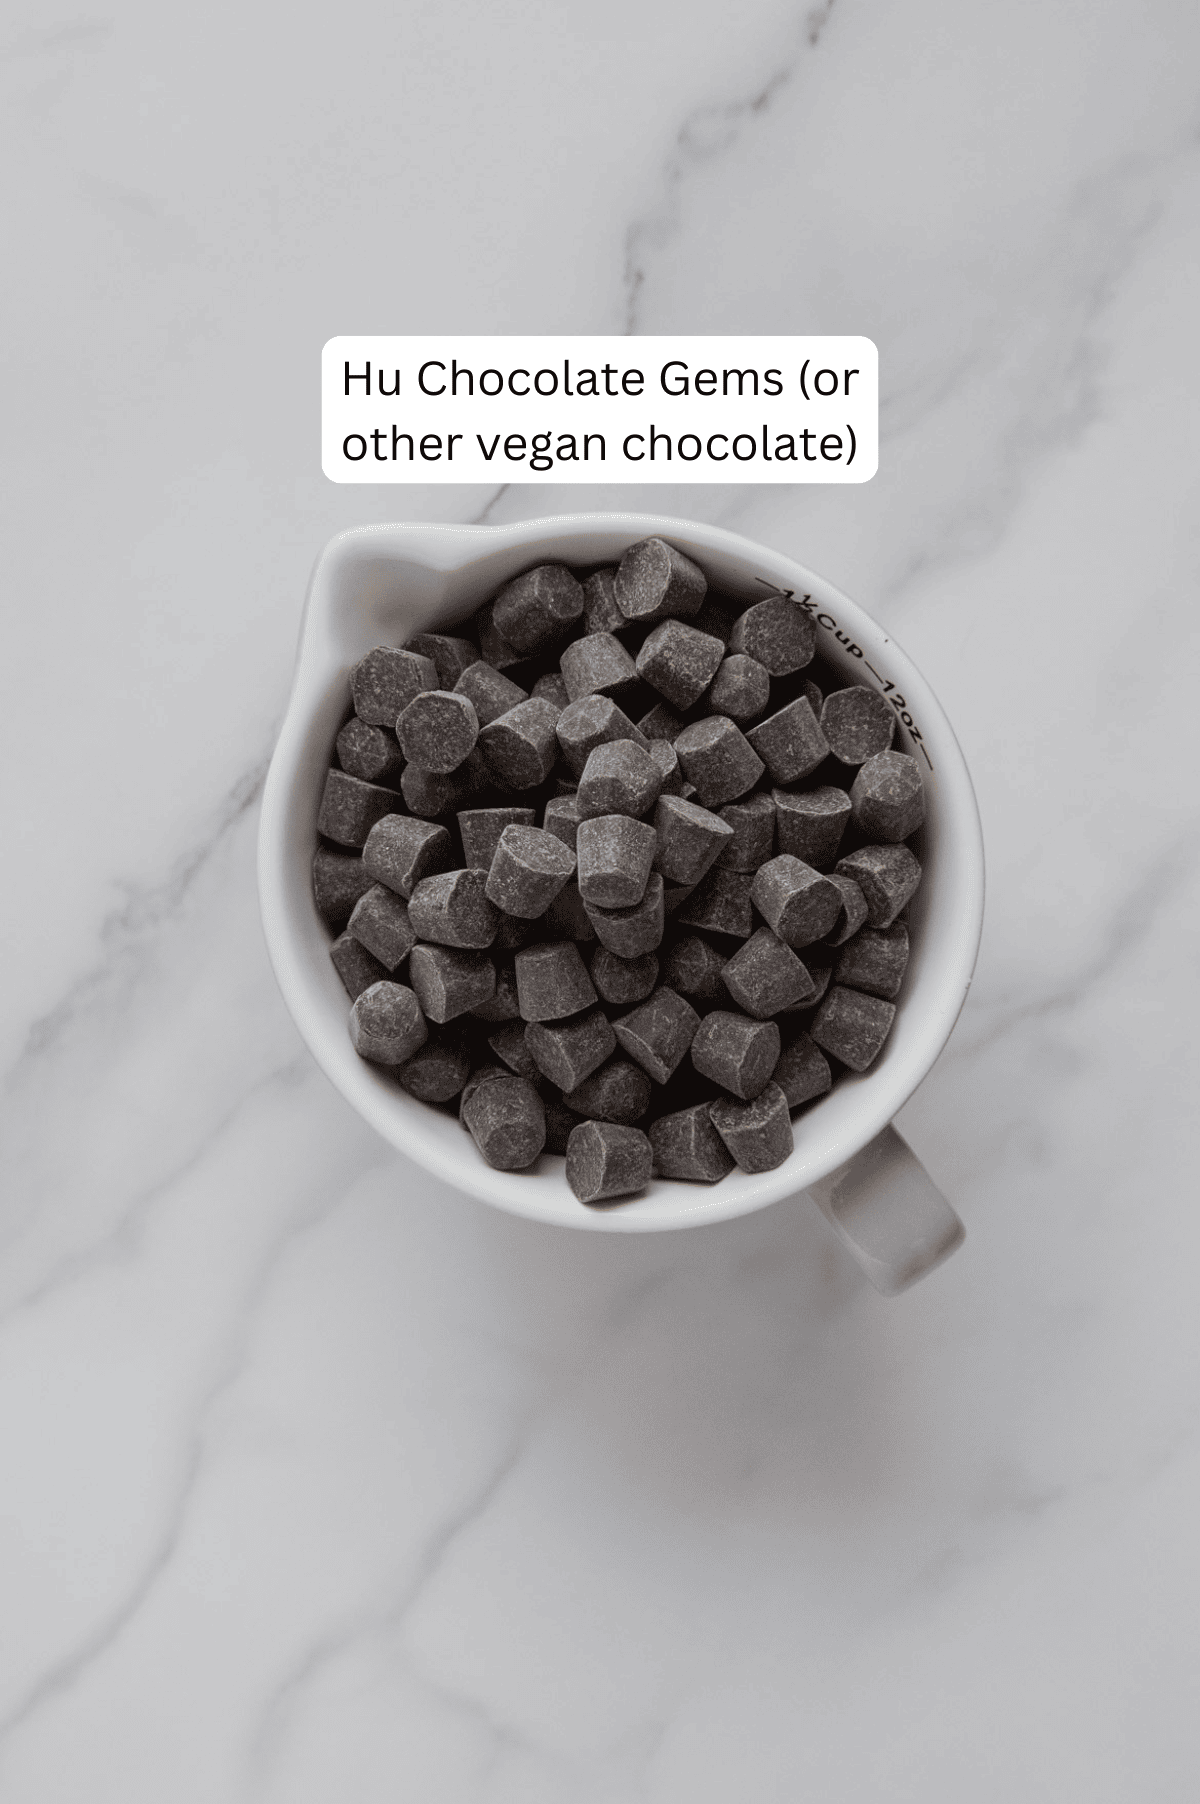
I highly recommend using Hu chocolate gems (not sponsored) since they melt smoothly without coconut oil and have a rich, balanced flavor. I don't like adding coconut oil to chocolate because when it freezes and then you go to eat it, it melts really quickly and gets all over your fingers and face! Plus it adds a coconut flavor that many don't like.
If you use another brand and it doesn't melt easily, you can add a small amount of coconut oil, but only if needed.
When melting chocolate, I do 1.5-2 minutes in the microwave. Or, if using a double boiler, keep an eye on it and stir frequently. No moisture should get into the chocolate since that can mess with the texture. Also, always stop just before it's fully melted to prevent burning which can make it bitter.
For dipping, use a wide, shallow bowl rather than a measuring cup so you have room to maneuver the bars. Roll each bar in the melted chocolate on all four sides to coat fully, then let the excess drip off before placing on parchment paper. You can drizzle any leftover chocolate over the tops for that signature look.


Recipe Tips
- Plan ahead. This recipe requires freezing between layers. For best results, bake the shortbread one day, add and freeze the caramel layer overnight, then dip in chocolate the next day.
- Cool the chocolate after melting. Letting it sit for about 10-15 minutes before dipping will avoid melting the caramel.
- Work quickly. Once sliced, the bars will soften at room temperature, so dip them right away.


Store these Twix bars in the freezer in an airtight container. They'll last for weeks and are best enjoyed straight from the freezer. Enjoy!
More Homemade Candy (All Vegan + Gluten-Free)

Homemade Twix Bars (Vegan + Gluten-Free)
- Total Time: 8 hours, 30 minutes (includes overnight freeze time)
- Yield: 20 1x
- Diet: Vegan
Description
These homemade Twix bars are a healthier take on the nostalgic candy we all know and love. They feature three irresistible layers: a crisp shortbread cookie, creamy almond butter caramel and a rich chocolate coating. All of these are made with simple, wholesome ingredients and result in a treat just as decadent as the original!
Ingredients
Shortbread Layer:
- 1.5 cups blanched almond flour
- ¾ cup arrowroot flour
- ¼ teaspoon salt
- ½ cup softened coconut oil (not melted) [or sub vegan butter*]
- ⅓ cup maple syrup
- ¼ teaspoon vanilla extract
Caramel Layer:
- ¾ cup almond butter
- ¼ cup maple syrup
- ¼ teaspoon salt
Chocolate Layer:
- 3-4 cups Hu chocolate gems (or other vegan chocolate), melted
Instructions
- Prepare the shortbread layer.
- Preheat oven to 350˚F and line an 9x9-inch pan with parchment paper in both directions.
- Mix all ingredients together in a mixing bowl until combined.
- Transfer to the prepared pan and press into an even layer. Use another sheet of parchment and the bottom of a glass to flatten evenly.
- Bake for 15 minutes until golden around the edges.
- Allow to cool completely to room temperature (you can chill in the freezer to speed this up).
- Prepare the caramel layer.
- Whisk ingredients together until smooth and creamy.
- Spread over the cooled shortbread layer evenly.
- Freeze for 8 hours or overnight until solid.
- Coat them in chocolate.
- Slice the frozen bars into 20 rectangles (about ¾-inch wide).
- Melt chocolate in the microwave for 1.5-2 minutes (or use a double boiler), stirring frequently and stopping before fully melted.
- Let the melted chocolate cool for 10-15 minutes.
- Dip each bar into the chocolate using two forks, rolling to coat fully. Let the excess drip off.
- Place the dipped bars on a parchment-lined baking sheet and freeze until the chocolate sets.
- Optional: Drizzle extra chocolate on top before freezing.
- Enjoy straight from the freezer!
Notes
When dipping in chocolate, make sure to work quickly as the bars will be quick to melt if left out of the freezer.
* For best results, I recommend using coconut oil as opposed to vegan butter.
- Prep Time: 30
- Category: Dessert
Leave a Reply