
Smash your potatoes and bake them to golden brown perfection to create this fan-favorite side dish for basically any meal. Both crispy and salty, these potatoes also make for an addictive (and likely more nutritious) appetizer or snack!

I've been totally focused on springtime cooking lately. With the first day of spring and warmer weather right around the corner, I'm full steam ahead with all things sunny and warm. These easy smashed potatoes are the yummiest way to welcome in the new season.
Boiled first to soften the inside and then roasted to crisp up the outside, these fingerlings are both creamy and crunchy all at once. These definitely rival my crispy sweet potato fries as one of my all-time favorite potato sides!
Why You'll Love these Crispy Smashed Fingerling Potatoes
- The best texture combo: creamy on the inside and crisp on outside.
- Easy (and fun!) to prepare: boil, smash, bake and serve!
- Kid-friendly: a dish the whole family will enjoy.
- Versatile: serve as an appetizer, side dish or even a stand-alone finger food snack.
- Simple ingredients: just 5 ingredients including the seasonings.
- Naturally vegan and gluten free!

Ingredients
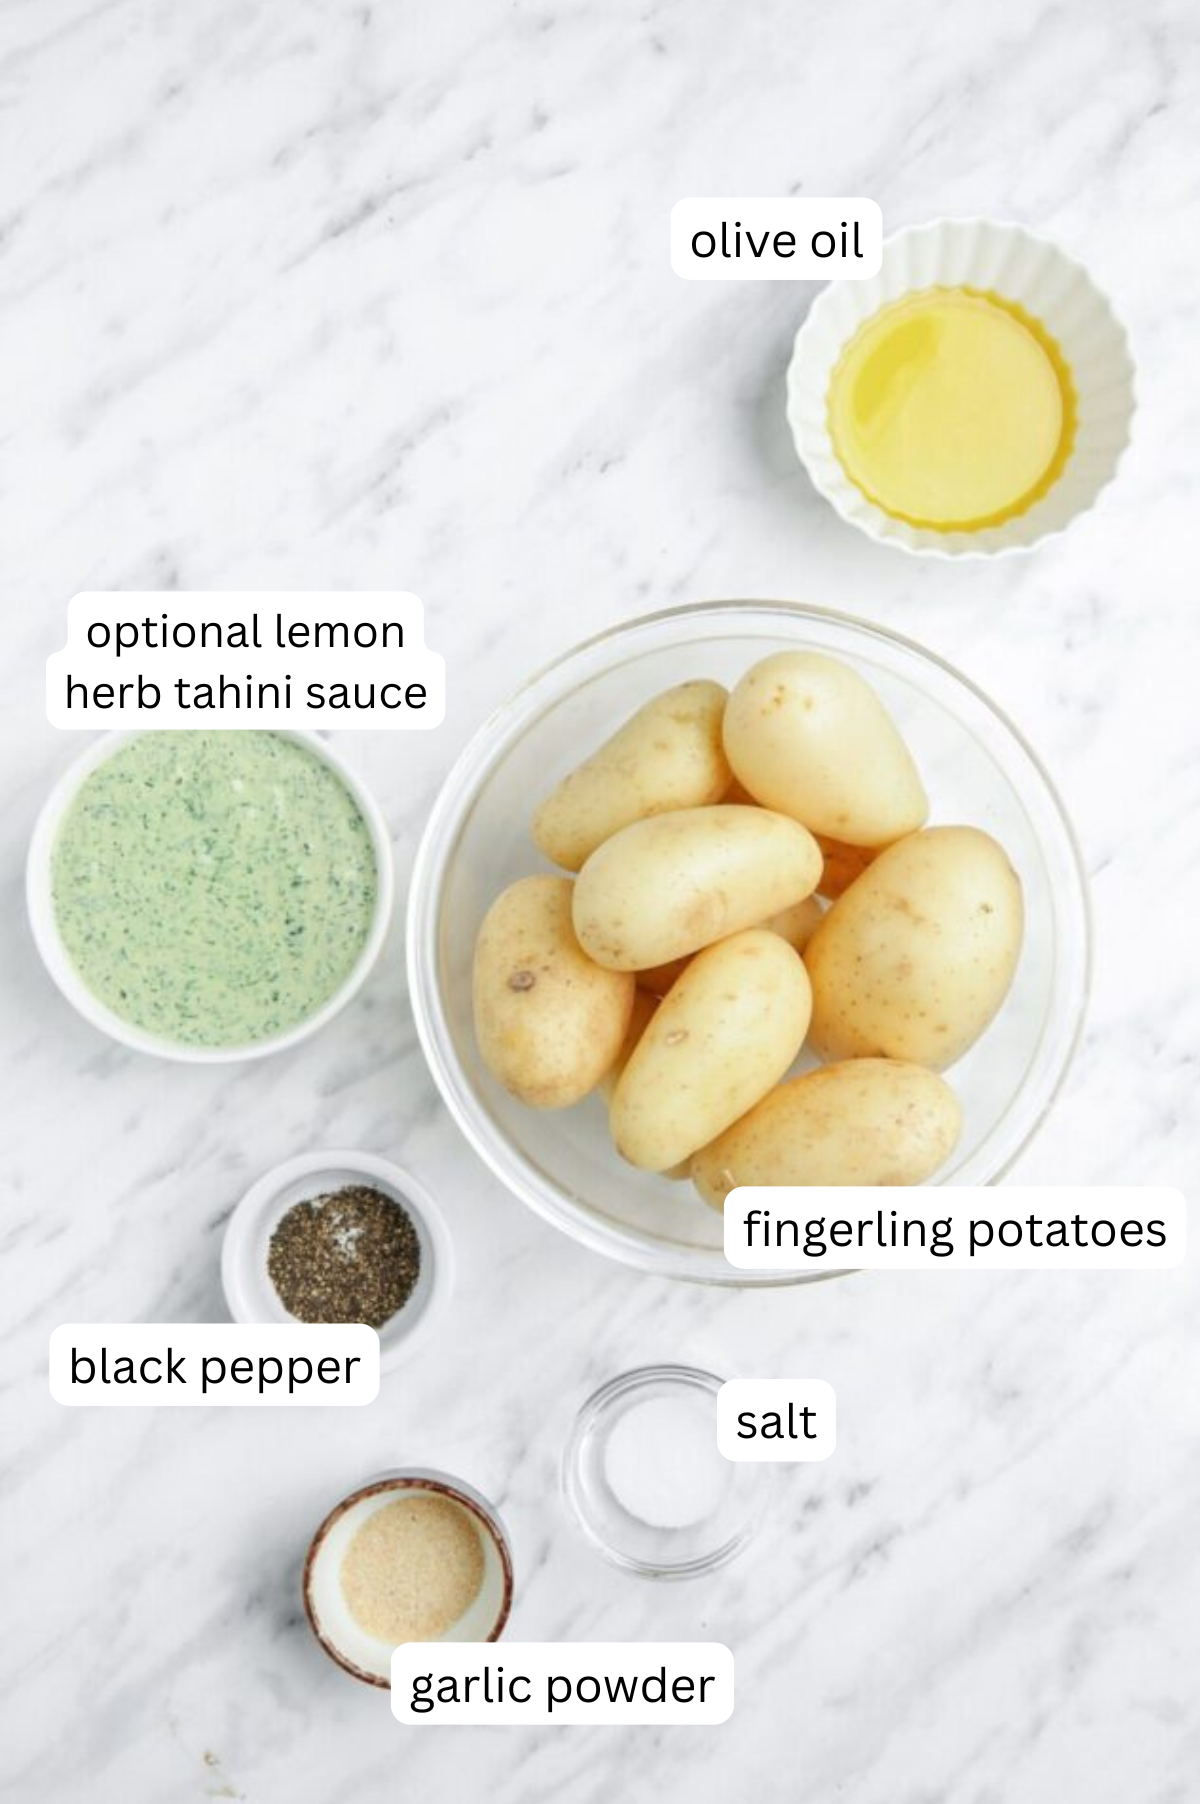
Update: I've recently been making these with baby dutch yellow potatoes and I love the results even more. I also have been using avocado oil in place of the olive oil for a buttery flavor that can stand up against the high oven temperature so they get nice and crispy without burning.
How to Make Crispy Smashed Fingerling Potatoes
Since this recipe is made with baby potatoes, they're easy to smash and quick to bake. I love that they feel special enough for a holiday but they're easy enough for a weeknight!


See the recipe card below for more detailed instructions:
- Preheat oven to 450˚F.
- Parboil the baby potatoes.
- Drain the water and allow the potatoes to cool.
- Brush avocado onto the bottom of the skillet or pan.
- Arrange the potatoes onto the skillet or pan and smash.
- Season the smashed potatoes.
- Bake the smashed potatoes.
- Serve hot.
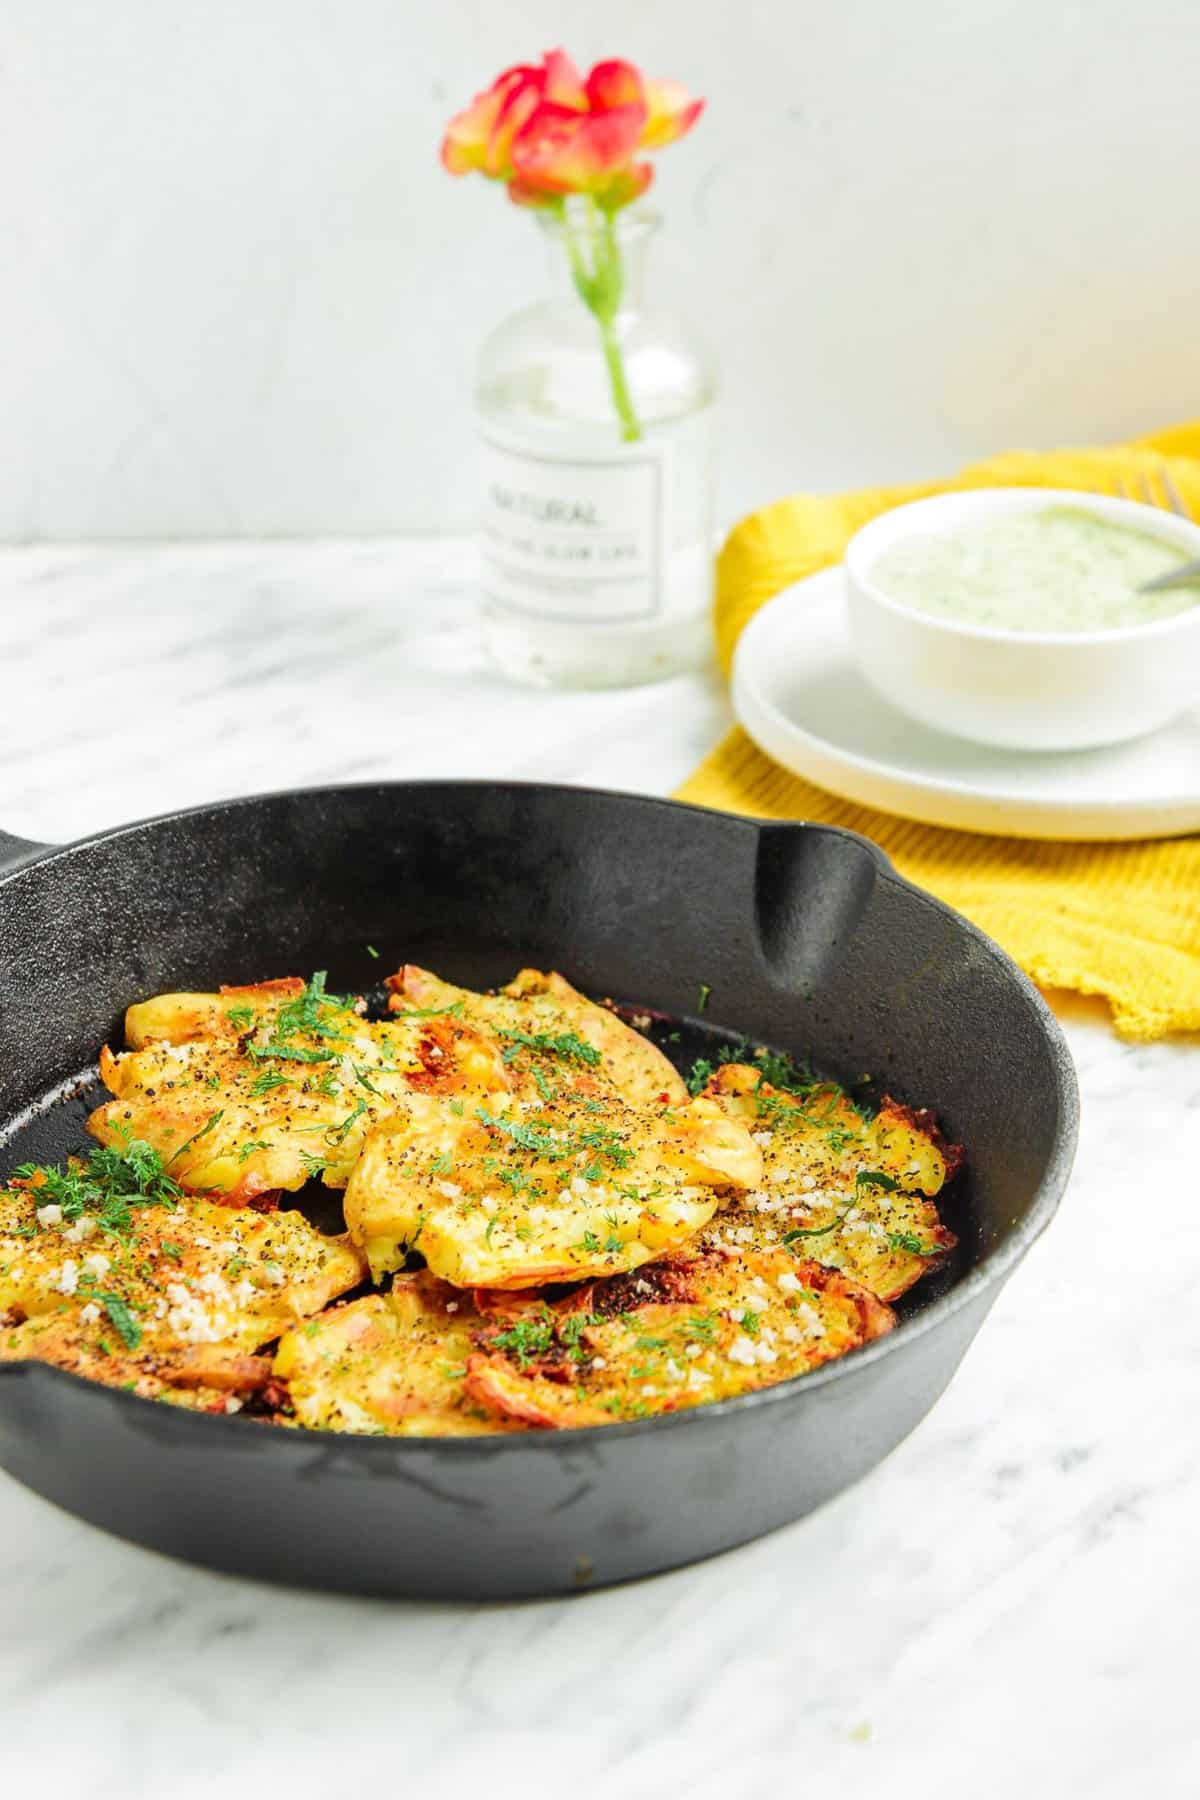
Recipe Tips
- Make ahead of time: You can prep these ahead of time (up to 1-2 days) by pre-boiling the potatoes and storing them in the refrigerator once cooled. Then on the day you serve, just smash, season and roast!
- Another method of smashing: Instead of smashing each potato individually you can place another rimmed baking sheet on top, then push down firmly to smash the potatoes.
- Adjust the amount of oil if desired: This recipe uses a lot of oil so the smashed potatoes are essentially frying in it while roasting. You can reduce the amount of oil for a lower-calorie option and it will still be delicious but just not as crispy.
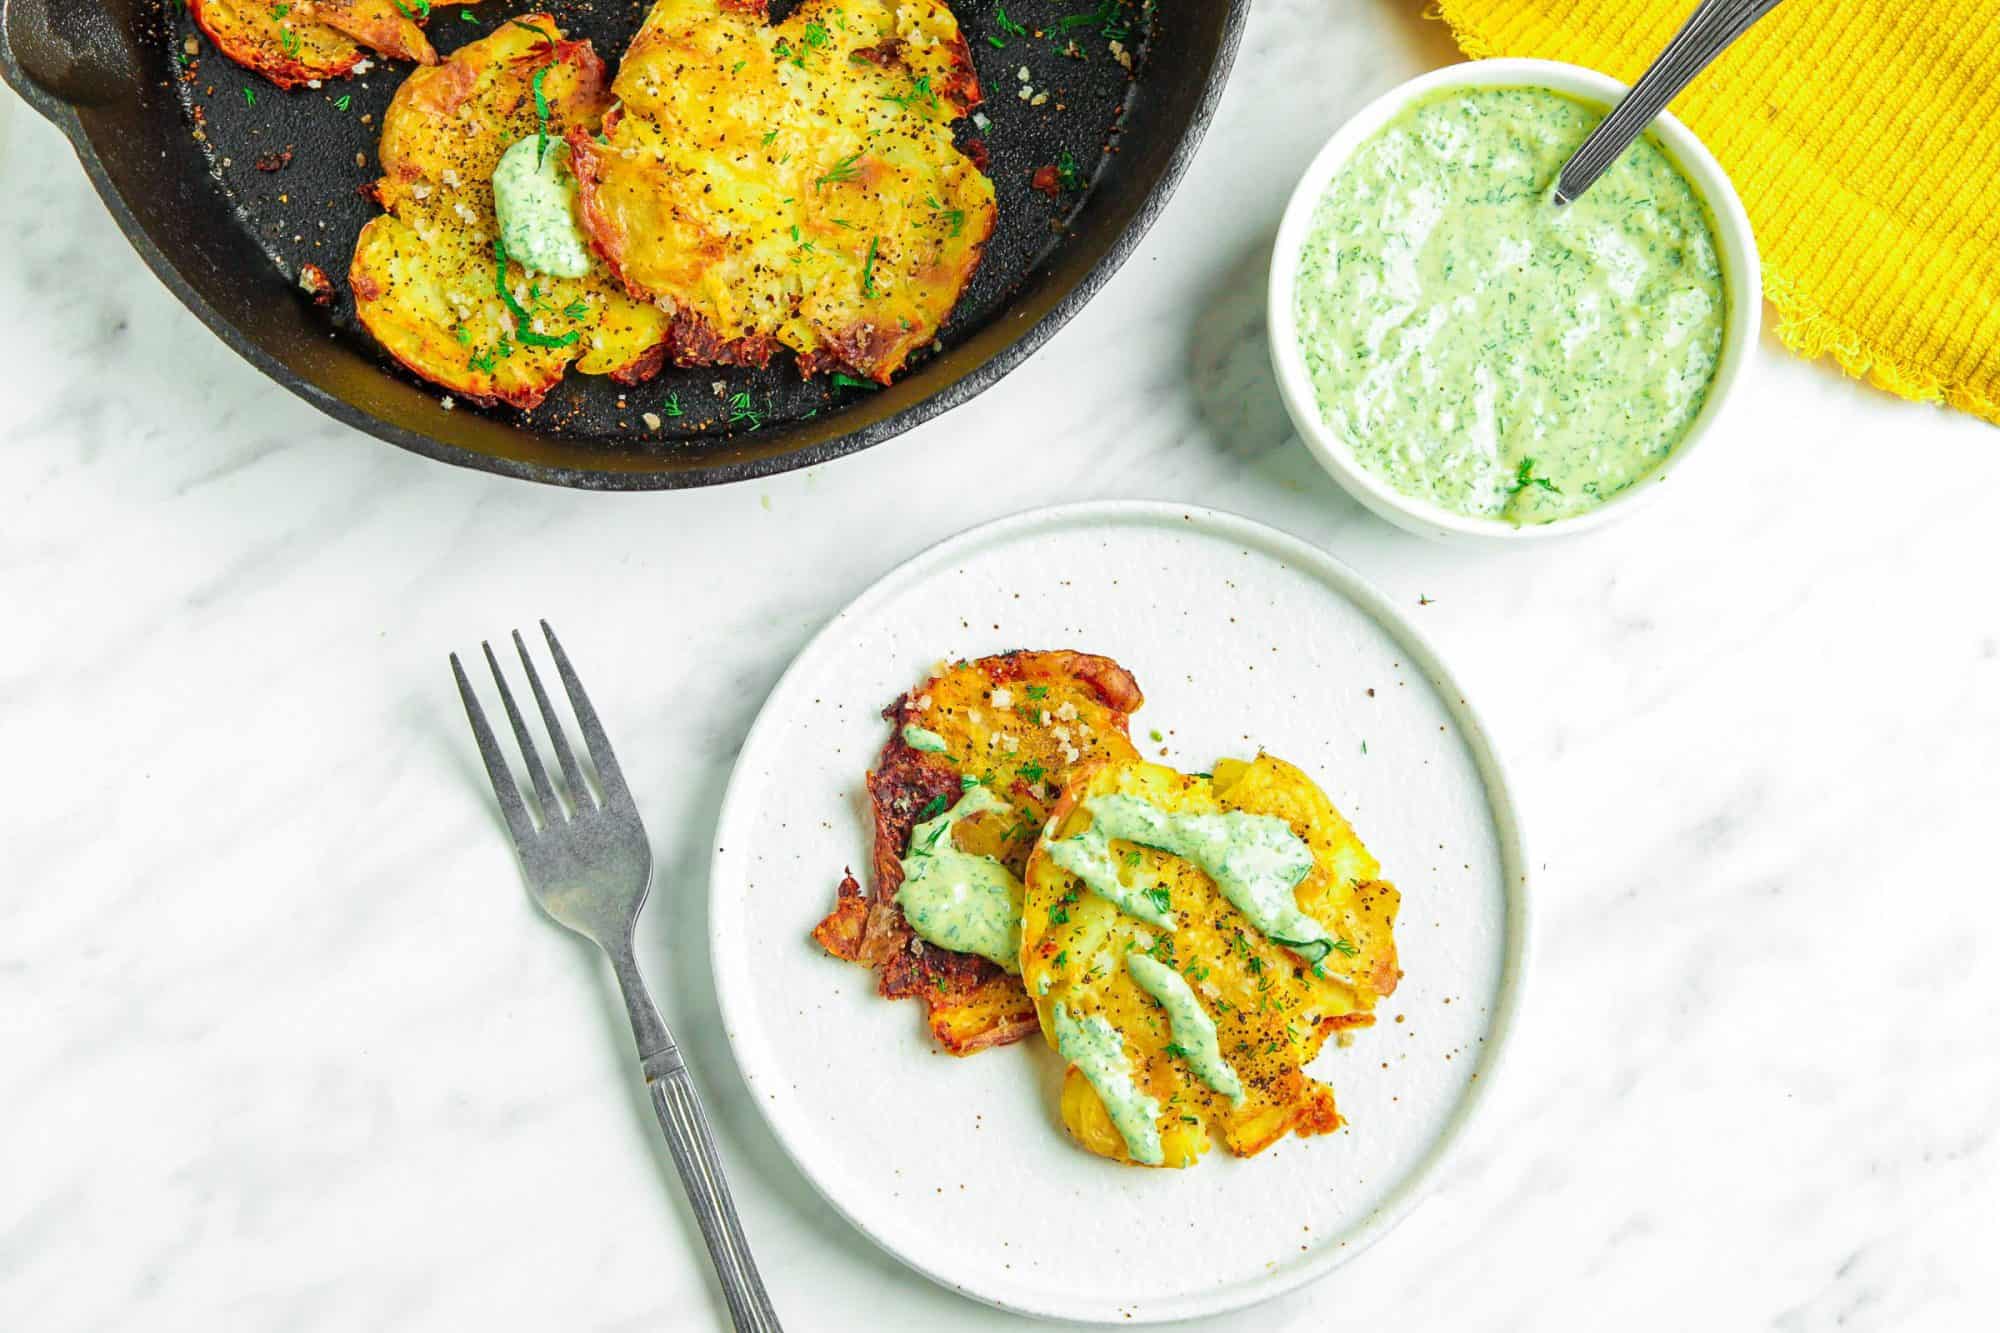
The Best Sauce for Smashed Potatoes
I am OBSESSED with the combination of crispy smashed potatoes and a creamy herbed sauce. They pair up like a dream! This creamy lemon herbed tahini sauce has a zesty and bright flavor that makes this dish just right for springtime. I use fresh lemon juice with tahini for a totally vegan sauce. It also has fresh garlic and fresh herbs. Doesn't that just scream springtime!?

Extra Crispy Smashed Baby Potatoes
- Total Time: 60
- Yield: 6 1x
- Diet: Vegan
Description
Smash some potatoes and bake them to golden brown perfection to create this fan-favorite side dish for basically any meal. Both crispy and salty, these fingerlings also make for an addictive (and likely more nutritious) game day snack!
Ingredients
- 1.5 pounds (24 ounces) baby potatoes, rinsed clean (leave the skin on) [I love Baby Dutch Yellow Potatoes]
- ⅓ cup avocado oil (to drizzle overtop the potatoes + some for the bottom of the baking sheet)
- 2 teaspoons fine salt
- ½ teaspoon teaspoon ground black pepper
- ½ teaspoon garlic powder
- Optional: serve with lemon herb tahini garlic sauce, chermoula sauce, green goddess sauce, chimichurri sauce, tzatziki or creamy dairy-free basil sauce
- Garnishes: flaky sea salt, fresh herbs
Instructions
- Preheat oven to 425˚F. If using a ceramic coated non-stick baking sheet, preheat to 400˚F (ceramic conducts heat differently)
- Parboil the baby potatoes. Bring a large pot of water to a boil and add 1 tablespoon salt. Place the baby potatoes (skin on) in the pot and cook until fork tender (about 20 minutes depending on the size of your potatoes). Be careful not to overcook them as they'll fall apart when smashed. At the same time you do want them cooked enough so they are easy to smash.
- Drain the water and allow the fingerlings to cool. Once they are slightly cooled, place on a kitchen towel to dry. Dry on all sides well. This is important so the oil sticks to the potatoes so they can get extra crispy.
- Brush avocado oil onto the bottom of the skillet or baking pan. Coat the bottom of a cast iron skillet or non-stick half sheet baking sheet with a generous amount of avocado oil. It helps to use a silicone brush for this. Do not use parchment paper or a glass dish here or they will not get crispy.
- Arrange the baby potatoes onto the skillet or baking sheet and smash. Space them out so the potatoes are not touching when smashed. I use two half sheet baking sheets. Use the bottom of a glass or metal measuring cup to smash each potato until they are ¼-inch thick. It is okay if some of the potatoes break apart.
- Season the smashed potatoes. Drizzle the rest of the avocado oil over each smashed potato and use a silicone brush to make sure all crevices are evenly coated with the avocado oil. Then season generously with salt, pepper and garlic powder.
- Bake the smashed potatoes. Bake for 15 minutes on the middle rack, then carefully flip each potato and bake for an additional 10 minutes until golden brown with crispy edges. Watch closely toward the end to avoid burning.
- Make them extra crispy (optional). Turn off the oven but leave the potatoes in with the oven door shut for an additional 10 minutes to crisp them up even further (if you have the time).
- Serve hot. Serve plain or with one of the recommended sauces above. Garnish with freshly chopped herbs and flaky sea salt if desired and serve immediately.
Equipment
 Buy Now →
 Notes
You can prep these ahead of time by pre-boiling the potatoes and storing them in the refrigerator once cooled. Then, the day you serve, just smash, season and roast.
Another method of smashing: Instead of smashing each potato individually you can place another rimmed baking sheet on top, then push down firmly to smash the potatoes.
You can reduce the amount of oil in this recipe for a lower-calorie option. It will still turn out delicious but just not as crispy.
Store leftover potatoes in an airtight container for up to 5 days in the refrigerator. Reheat in the oven at 350˚ for about 10 minutes for best results in terms of maintaining its crispiness. You can microwave it as well but the potatoes will soften in the process.
- Prep Time: 10
- Cook Time: 45
- Category: Side Dish
- Method: Oven
This post is sponsored by Sprouts Farmers Market. All opinions are my own.
Ashley says
When you use a cast-iron skillet are you only doing four or five at a time?
Elaine Gordon says
Yes, you have to do them in smaller batches. I use mini potatoes and can usually fit 8-10 in my 12-inch cast iron skillet. It partly depends on how much you smash them and the size of your potatoes. But, yes you will need multiple skillets if you want a lot. Just make sure they are not touching. I hope that helps! And I hope you enjoy this one. It is always a hit when I serve it 🙂
Jeanne says
Made these smashed potatoes and they were delicious and loved by my family. Will definitely be making these again!
Elaine Gordon says
Thank you so much, Jeanne! So glad you all enjoyed them! 🙂